I'm on a breakfast kick. Can you tell? I've had these things knockin' around my brain for about a week or so and have really wanted to try them, so last night I did! I wasn't actually sure it would work at all--this is the first time I've tried this recipe. Happily and deliciously, they worked out just fine.
MorningStar brand used to make something called Sausage and egg Biscuits, which was basically a homestyle biscuit stuffed with "sausage" and eggs--just like it sounds. Unfortunately, this line has been discontinued (which I didn't know until writing this and looking for a link to these.). They were delicious and deadly...but very expensive, as fake meat foods tend to be.
So I made my own! Or something similar, at least.

Someday soon I'd like to try them with homemade biscuit dough since I think it will be tastier, but for last night I went the semi-homemade route and used store-bought biscuits.
Let's get down to it:
Prep Time: <5 minutes
Cook Time: ~15-20 minutes
Makes: 8 biscuits
Ingredients:
1 package of biscuit dough, raw and uncooked
1 egg
<1/4 cup Morning Star "beef" Crumbles
1/2-1 teaspoon soy milk
1 tablespoon shredded mozzarella cheese
1 tablespoon shredded cheddar cheese
1 tablespoon shredded cheddar cheese
*P.S., I am still using the other camera that isn't as good as my original, so I apologize for all the flash-afied pictures. This one really doesn't work properly without the flash, unfortunately.
Directions:
1) Beat your eggs together in a bowl--I mean *beat your egg. I had tons of the filling left over so I halved the recipe for y'all. Add in the soy milk for a little bit of fluff.
2) Spray a small skillet with non-stick spray and set over low heat. Add in your egg and mix immediately to start the scramble.

Continue mixing semi-frequently until it is mostly scrambled. It's okay if it's a little undercooked, since it will be baking in the oven anyway.
Continue mixing semi-frequently until it is mostly scrambled. It's okay if it's a little undercooked, since it will be baking in the oven anyway.

Add in your "meat" crumbles and cheese. Cook for about another minute and remove from heat.
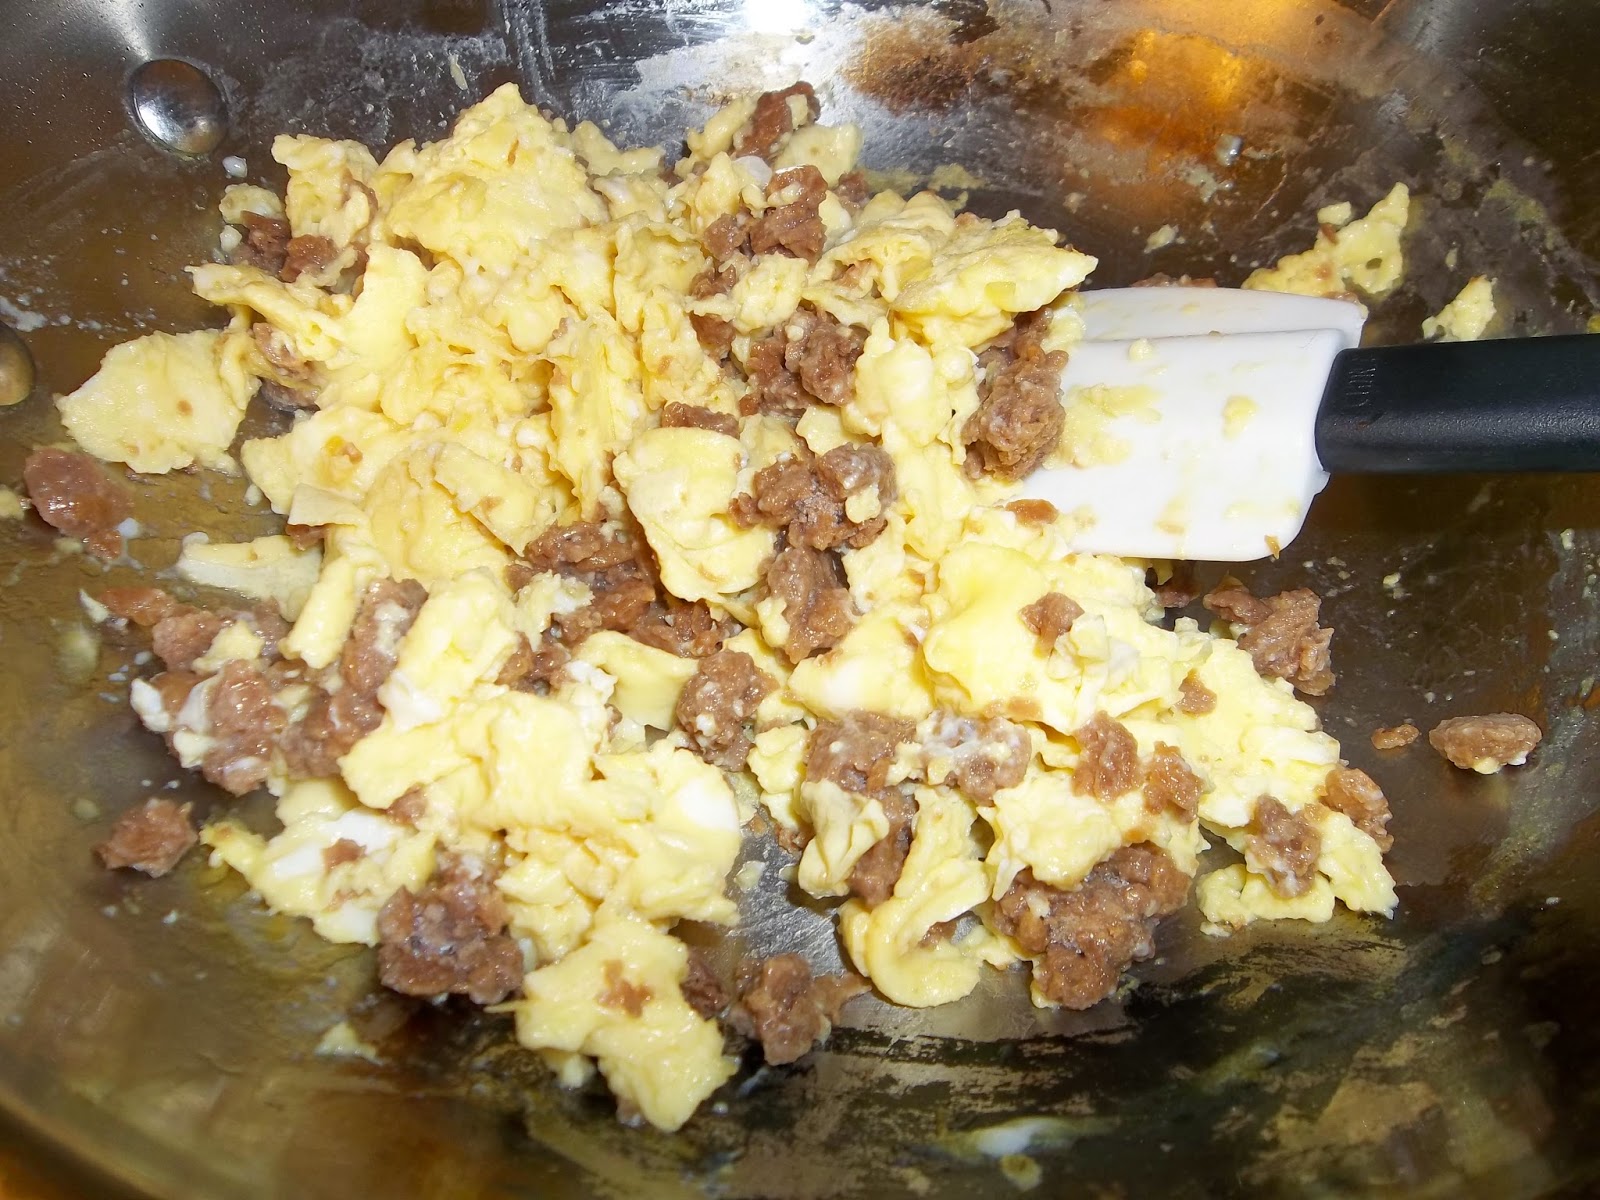
I swear, that looks much better in person. Can't wait to find my other camera charger!
3) Set your biscuits out on a sprayed cookie sheet.
Now to get your filling into the biscuits! I started with this method:
Gently open a small hole in the top of the biscuit.

Spoon in about a teaspoon of the filling.

Pinch the hole closed.
...But the biscuits didn't like to stay closed that way, and sometimes the bottoms tore open.
So I tried this way instead:
Gently open the biscuit like a pita, from the side.

Spoon in about a teaspoon of the filling.

Pinch the edges of the biscuit shut.

Those ones stayed closed much more easily.
4) Follow the directions on the biscuit container to bake.

Mine wanted to be baked in a 375-degree F oven for 12-15 minutes. I went with the longer setting and actually added a couple minutes to get that golden brown color on the outside.
Voila! Breakfast biscuit.

Check out the inside, too. Mmm.
The biscuits that I used turned out to be a little too sweet for my tastes, so next time I'd go with a buttery-flavored or southern-style biscuit.
These are super easy to make ahead and take for on-the-go breakfasts. Refrigerate the leftovers and pop one in the microwave for about 45-60 seconds when you want one, and they're as good as new.
Fluffy bread items don't freeze well for long, but they should be fine for a few weeks at least if you'd like to freeze them instead.
Enjoy!
No comments:
Post a Comment