Since all of this stuff is pre-made, I didn't really consider it a recipe so we're gonna call this a food craft: Cute owl cookies!
I am always charmed by the clever things that people do with food, and the easy ones are the best! I saw the owl on one of those "20 fun things to do for Halloween" things online. It didn't have directions, just a picture, but it spoke for itself. The frosting used in the original looked like a glaze of some kind, or fondant, but my personal opinion is that cream cheese frosting makes 99% of all cookies and cakes better. So, I used cream cheese frosting. Duh.
This is a perfect craft to do with kids if you have them. I wish I had kids so I could claim that this was their handiwork. So many things went wrong trying to do these. I think that must just be what happens when I don't make my own cookies or frosting. Oh, well!
Let's get down to it:
Prep Time: 10-15 minutes
Cook Time: 13-15 minutes per batch of cookies (or whatever your cookie package says)
Thing you need:
-Owl cookie cutter
-Sugar cookie mix, prepared, or pre-made dough
-Cream cheese frosting
-Food dye
-Candy corn and/or Reese's Pieces
-Miniature chocolate chips
Directions:
1. Roll out your cookie dough into a flat sheet. As you can see I chose the pre-cut ones, but that's mostly because they looked like the best cookies. I just rolled out the dough and got rid of the pre-cut nonsense. ...After Hubby and I stole a couple would-be cookies.

Roll out your cookie dough, stamp a few owls out and lay them on a sprayed cookie sheet.
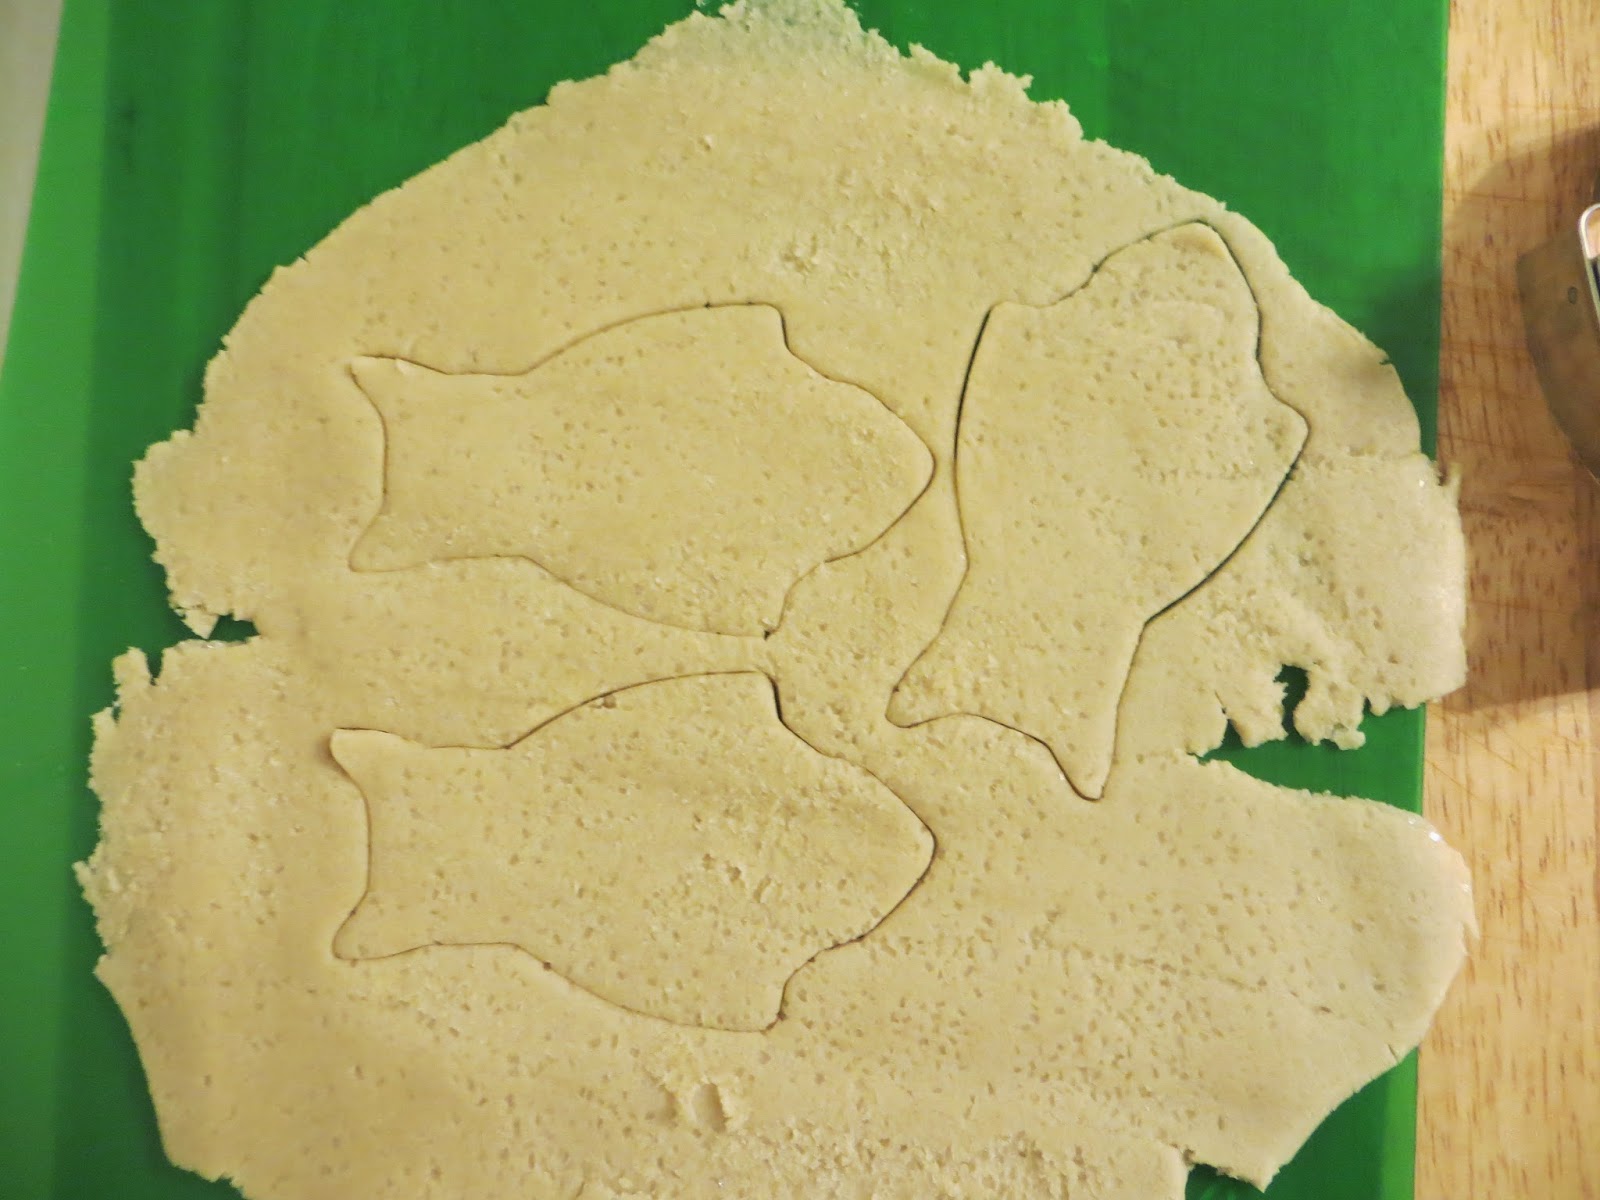
Then roll it back up and do it again!
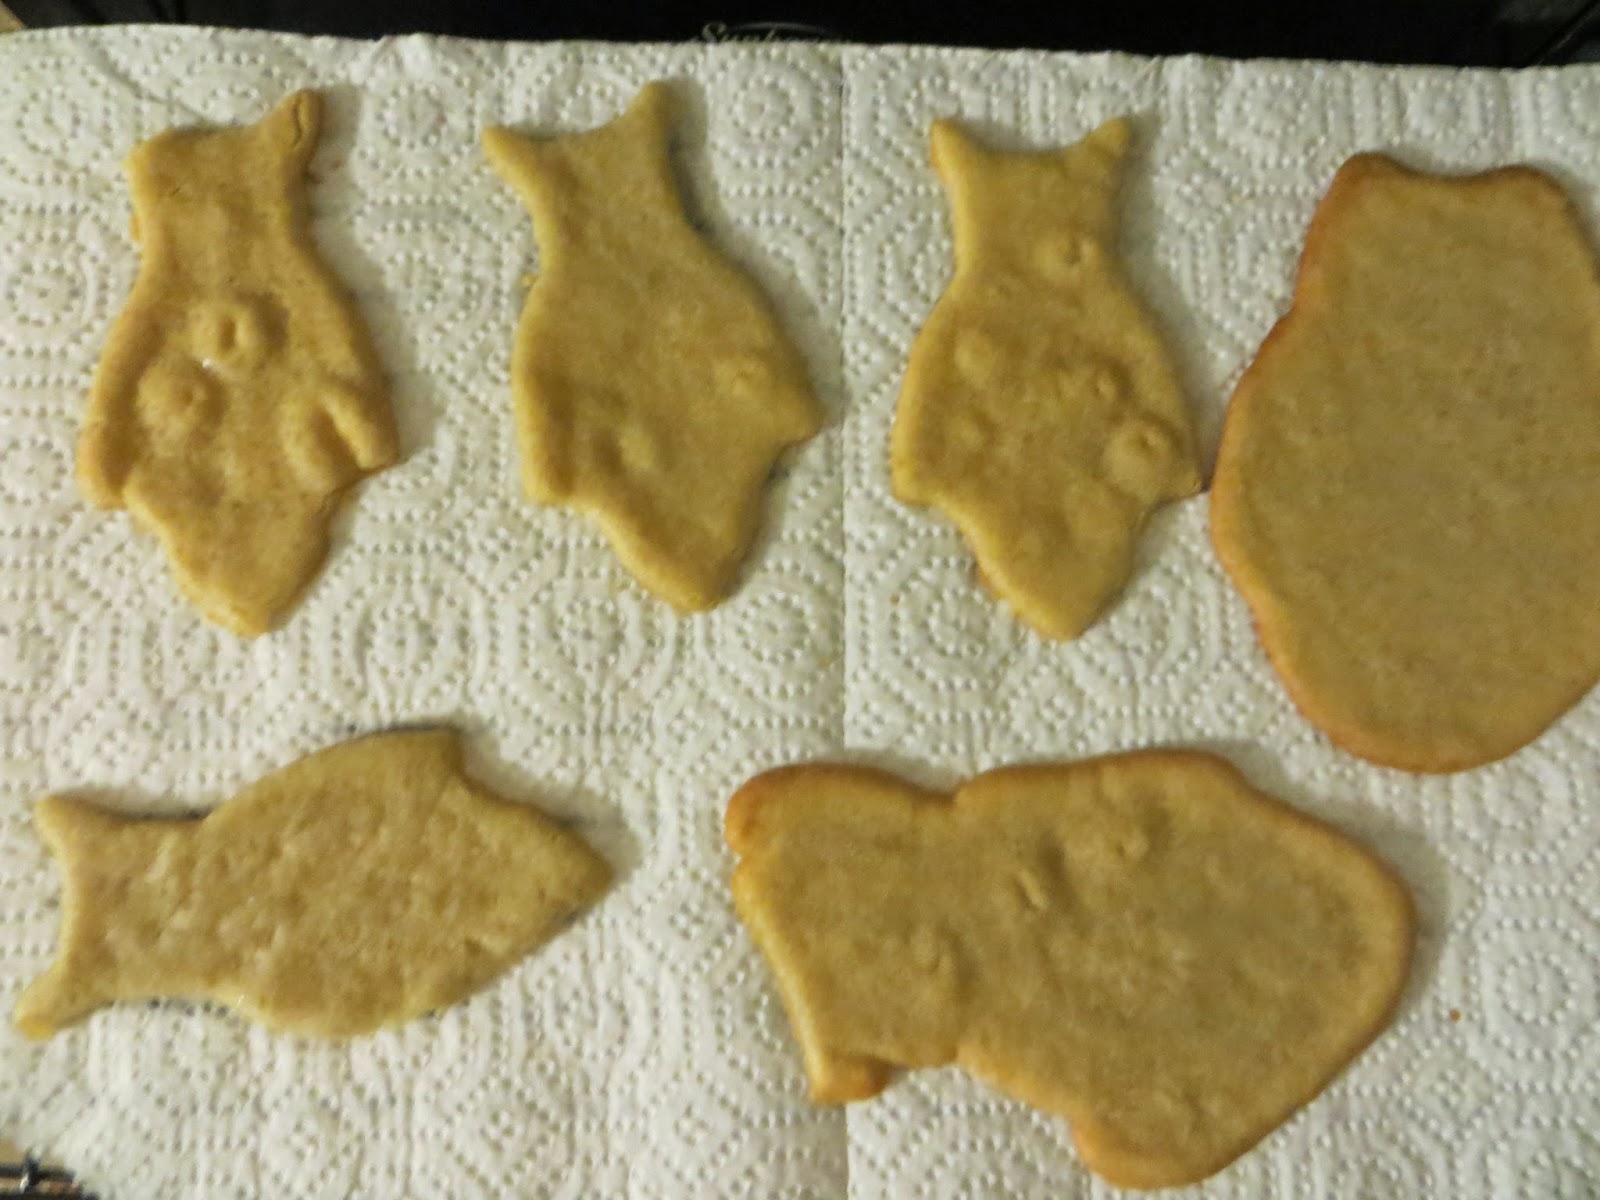
The issue with this cookie dough that I used was that it spread out a lot in the oven, more than normal cutout cookie dough. So my owls ended up looking like this.

But have no fear! There is a plan B for that. Let them cool for a couple minutes and stamp them out once they're done!
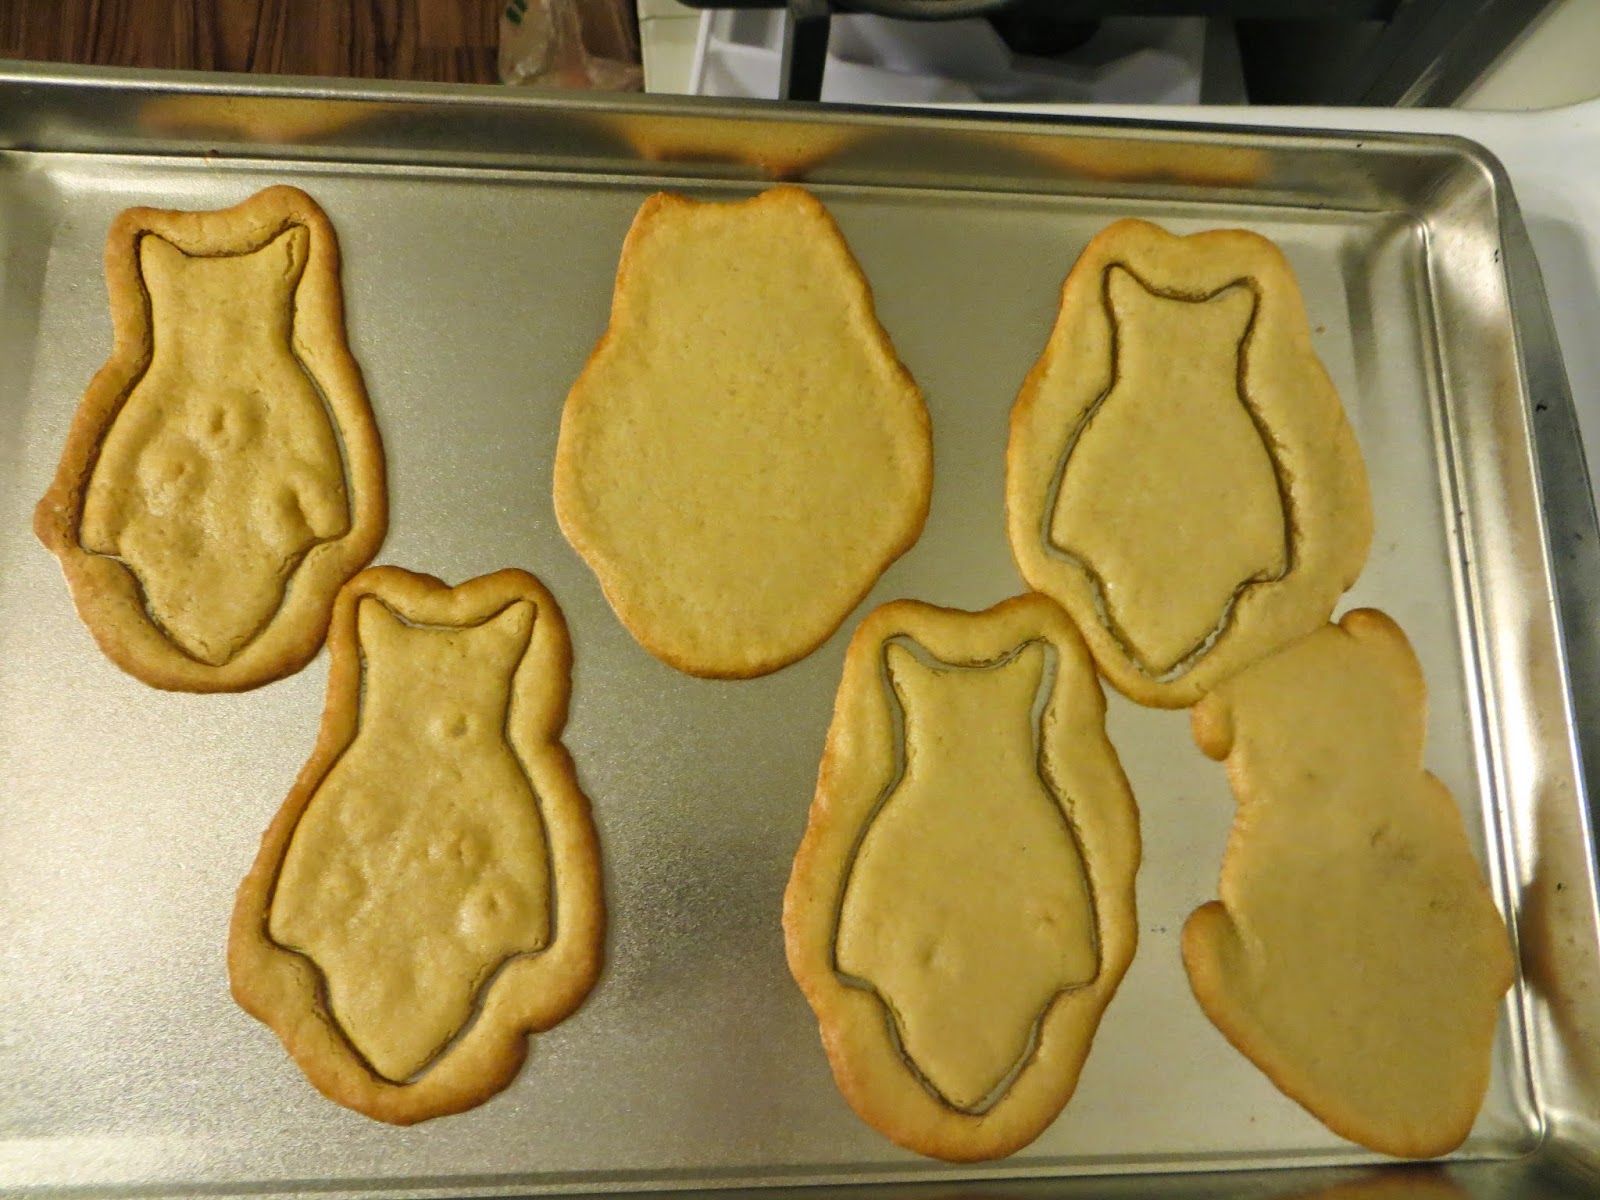
Then take all the extra little bits from around the edges and snack on them while you finish your cookies.
Let these rest on a cooling rack for about five minutes so they don't fall apart while you're frosting them.
Roll out your cookie dough, stamp a few owls out and lay them on a sprayed cookie sheet.
Then roll it back up and do it again!
The issue with this cookie dough that I used was that it spread out a lot in the oven, more than normal cutout cookie dough. So my owls ended up looking like this.
But have no fear! There is a plan B for that. Let them cool for a couple minutes and stamp them out once they're done!
Then take all the extra little bits from around the edges and snack on them while you finish your cookies.
Let these rest on a cooling rack for about five minutes so they don't fall apart while you're frosting them.
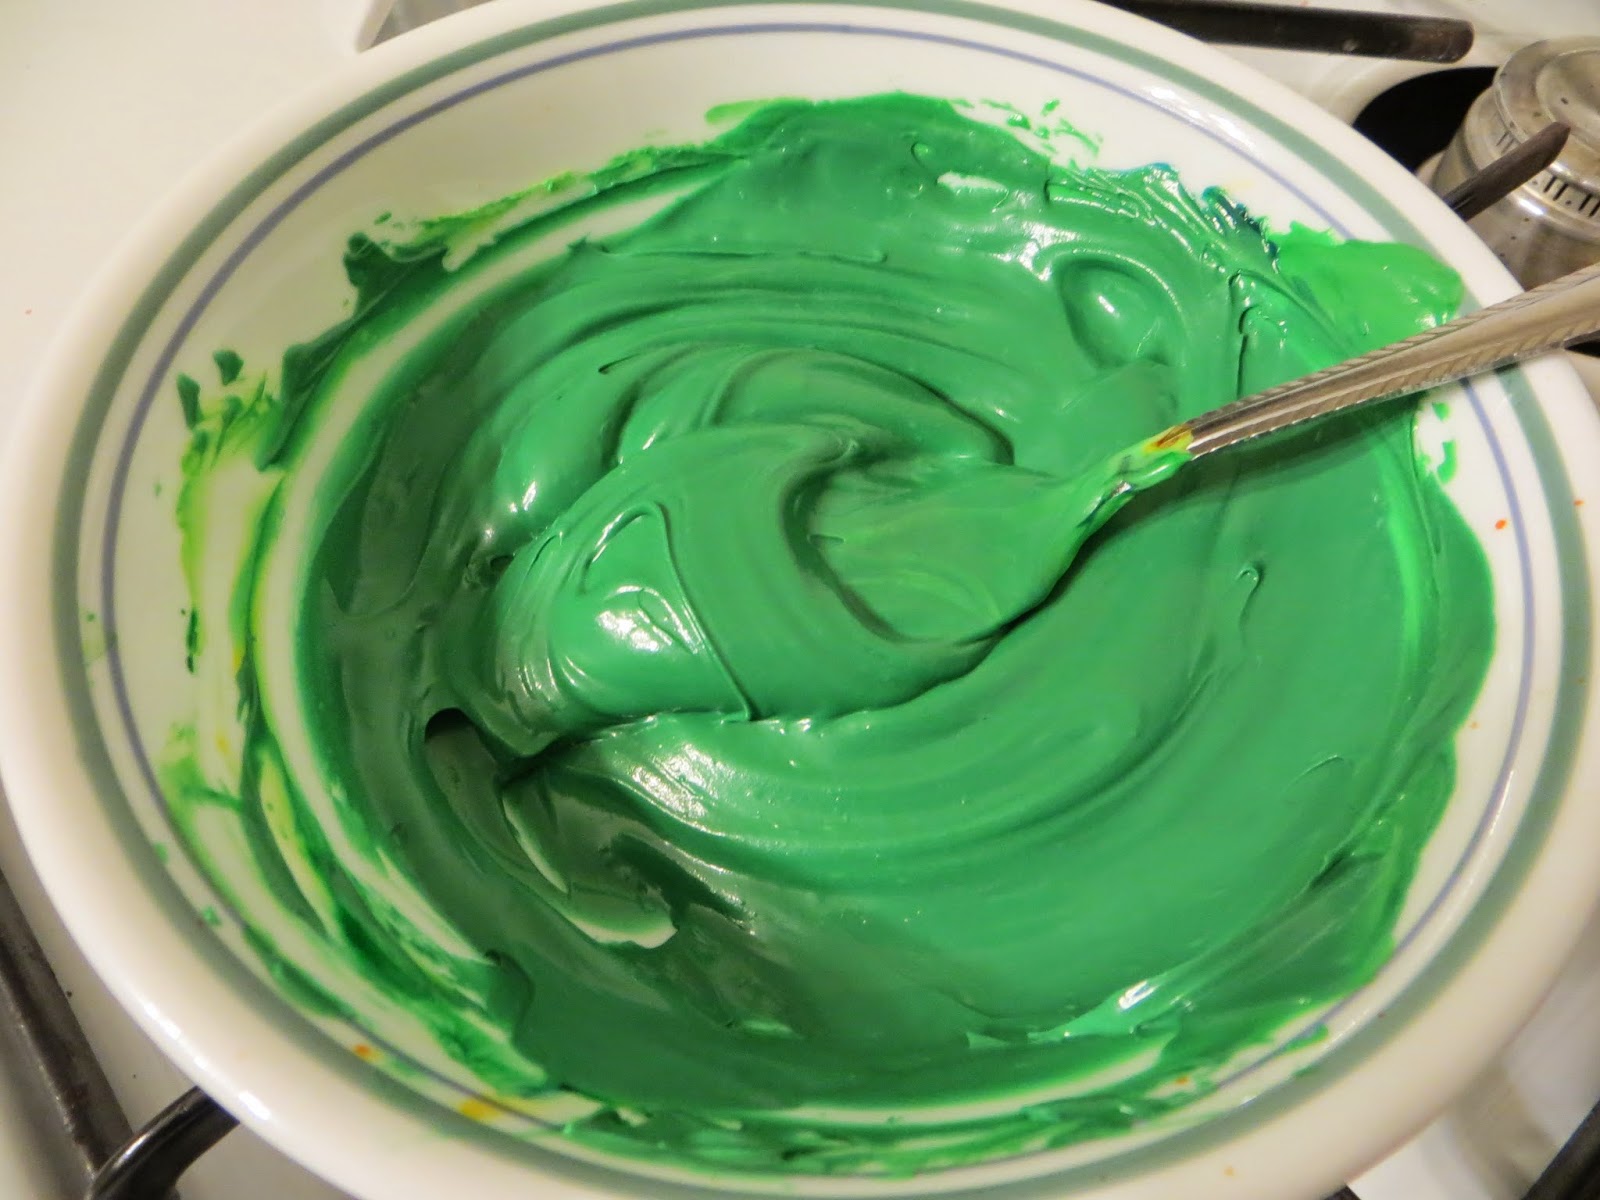
2. Separate your frosting into as many bowls as you have colors. For the ones I'll mention, that will be just one.

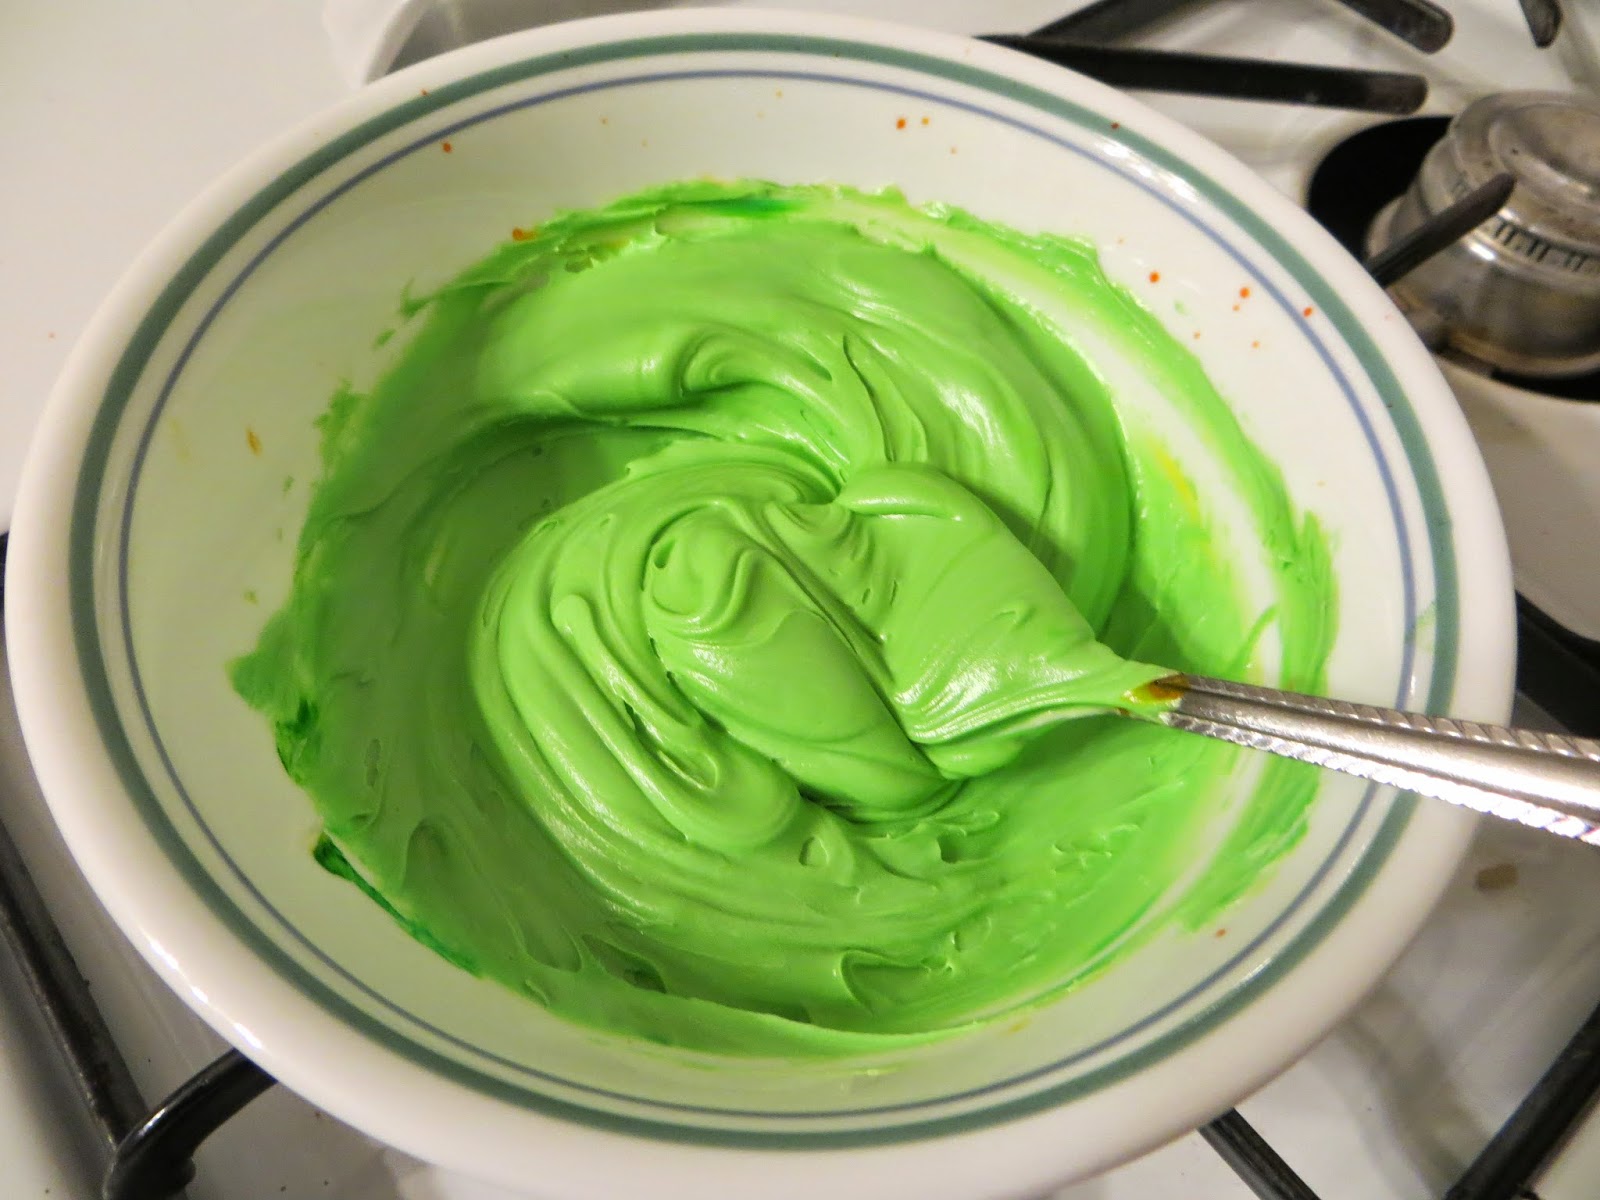
I had all the intent in the world to do orange owls, because the photo I saw online was orange. But...I was out of red dye, and only had a few drops of yellow dye, so I made teal-ish blue-green owls instead. At least I liked the color!
Add the dye...
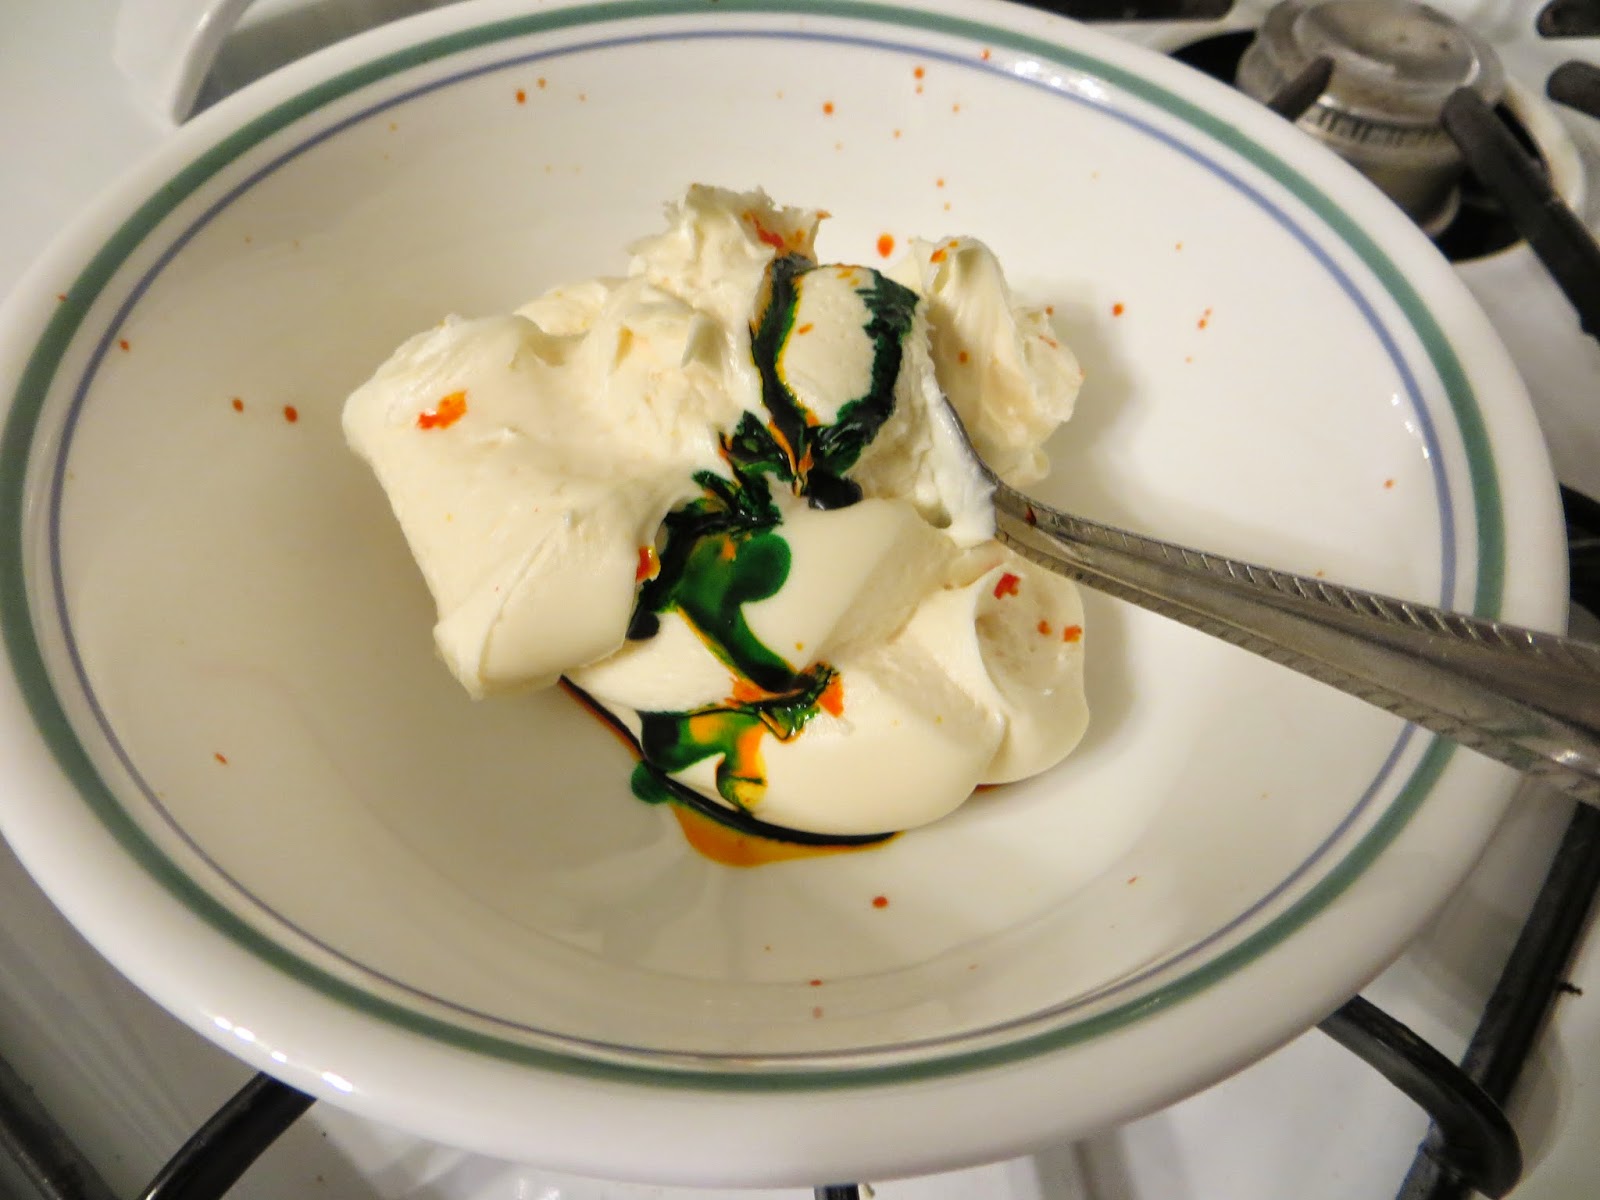
Mix it...
And add more dye if it's not dark enough for you.
Now, before I say this, I know that some people will wonder "Why are you telling us this?" However, I personally know several others that may say something along the lines of "Thank God there's a list!" So, without further ado, here are some basic color combinations:
I had all the intent in the world to do orange owls, because the photo I saw online was orange. But...I was out of red dye, and only had a few drops of yellow dye, so I made teal-ish blue-green owls instead. At least I liked the color!
Add the dye...
Mix it...
And add more dye if it's not dark enough for you.
Now, before I say this, I know that some people will wonder "Why are you telling us this?" However, I personally know several others that may say something along the lines of "Thank God there's a list!" So, without further ado, here are some basic color combinations:
Red + yellow = orange. Go for more yellow drops than red.
Yellow + blue = green.
Blue + red = purple.
Blue + orange or Red + green or Yellow + Purple = brown.
And for what I did, use a teensy bit of yellow, then add tons of green + blue which = tealish. I just mixed it 'til I liked the color, really.
And for what I did, use a teensy bit of yellow, then add tons of green + blue which = tealish. I just mixed it 'til I liked the color, really.
Mix a generous amount of dye into each bowl for whatever colors you need.
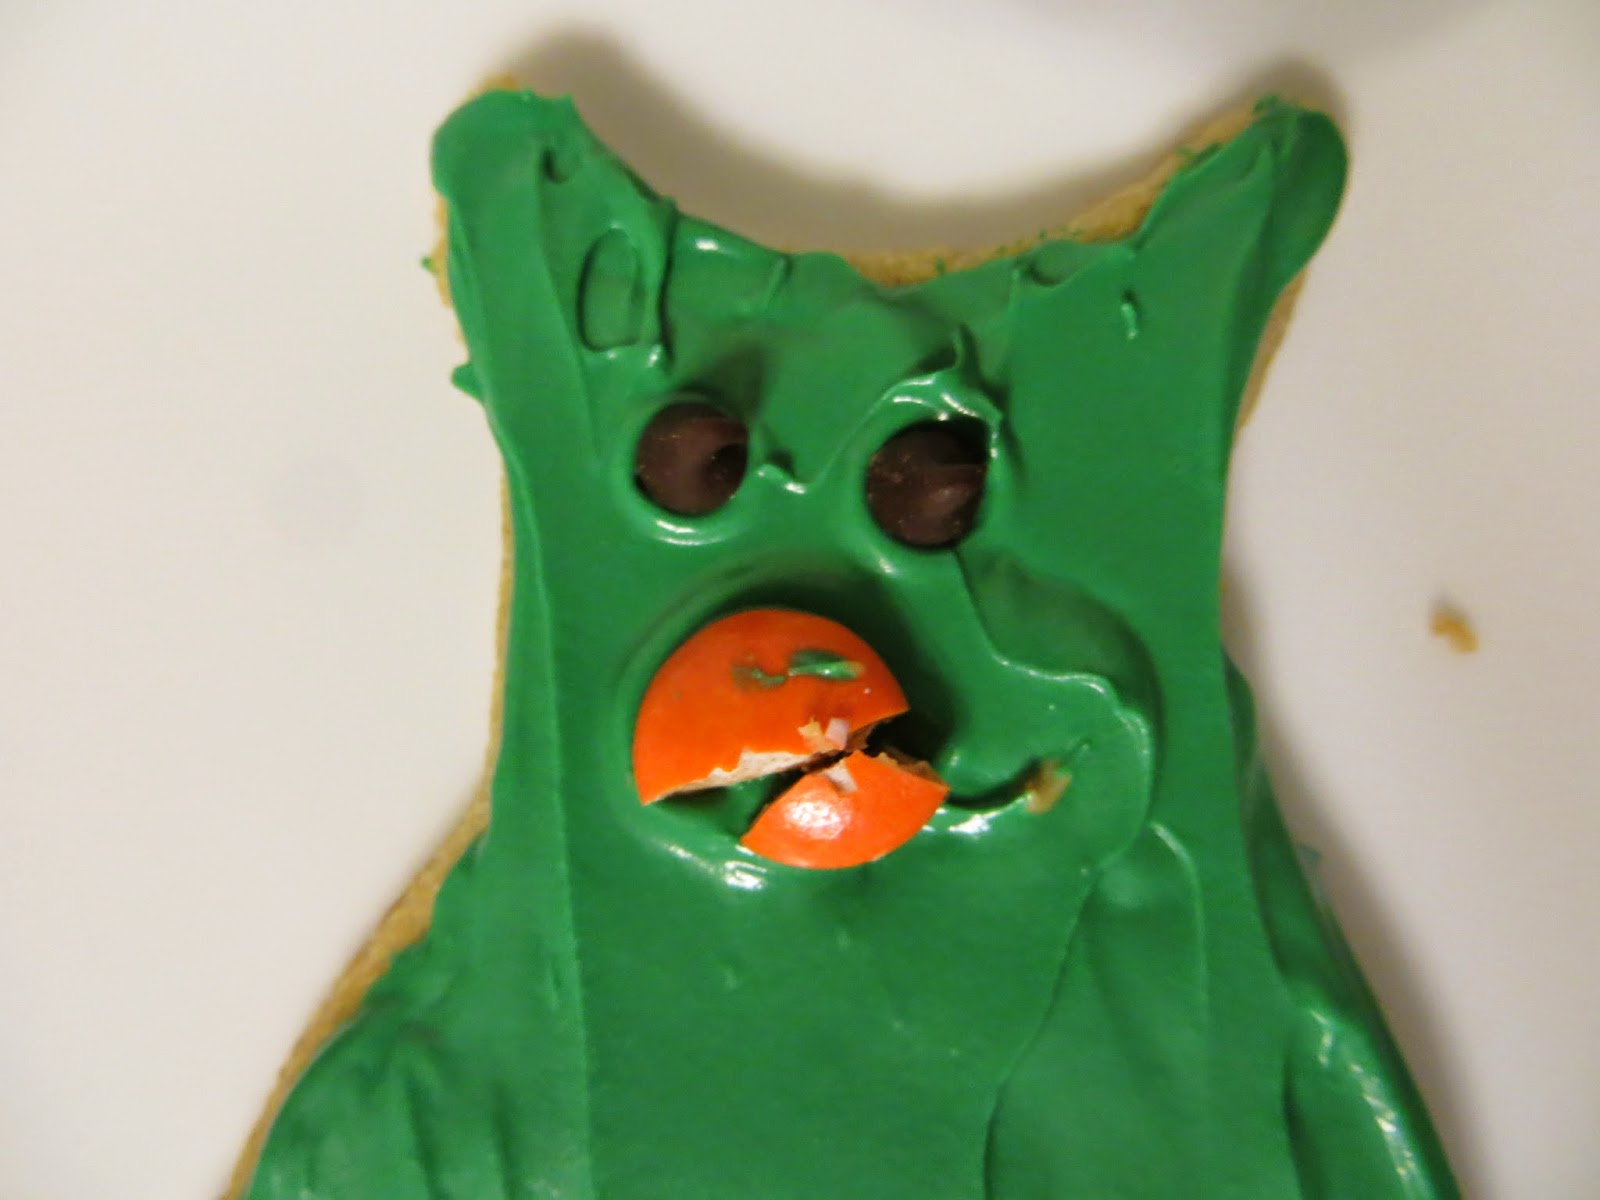
3. Frost your owls. (See? This is why you have me to tell you things. You never would have guessed that.) Then, add a candy-corn beak. I found that the candy corn was too large, so I sliced it in half. And finally, two mini chocolate chips for eyes!
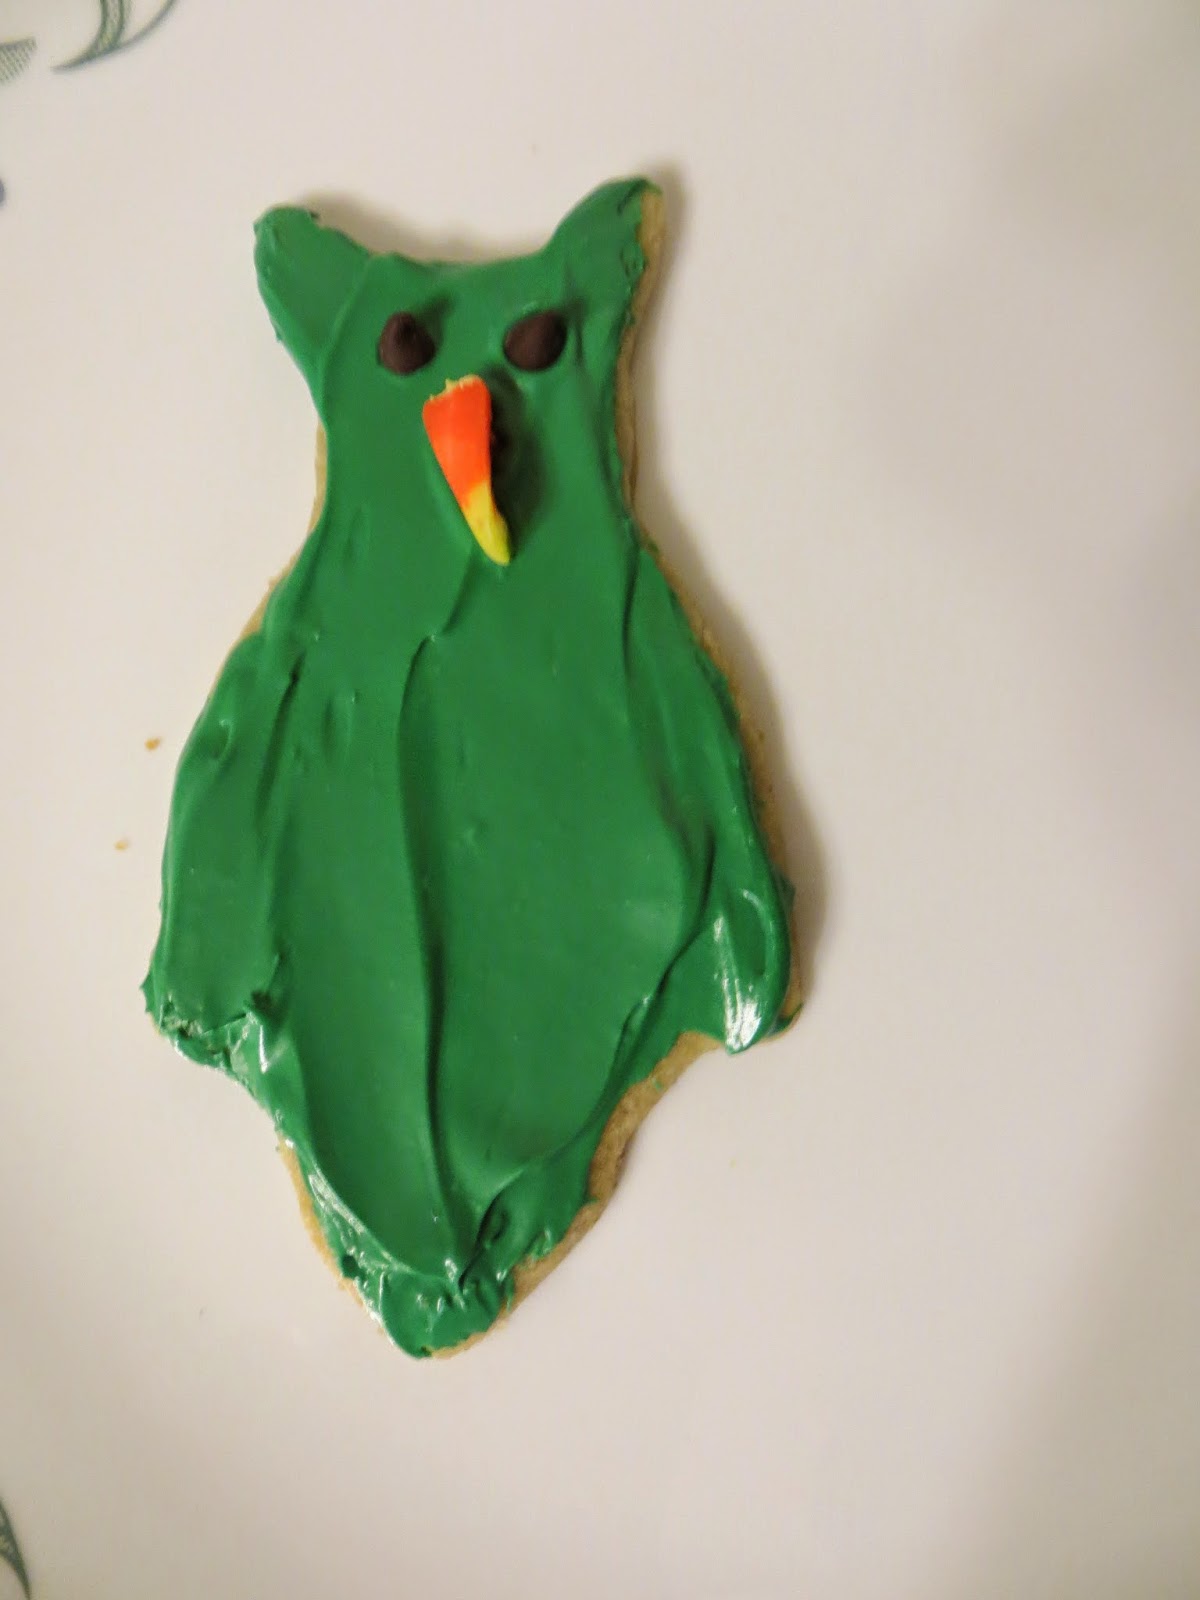
Cute! ...If a little kiddish.
I also tried Reese's Pieces and sliced one of those in half, breaking one of the halves again, to make a little more of a realistic beak.
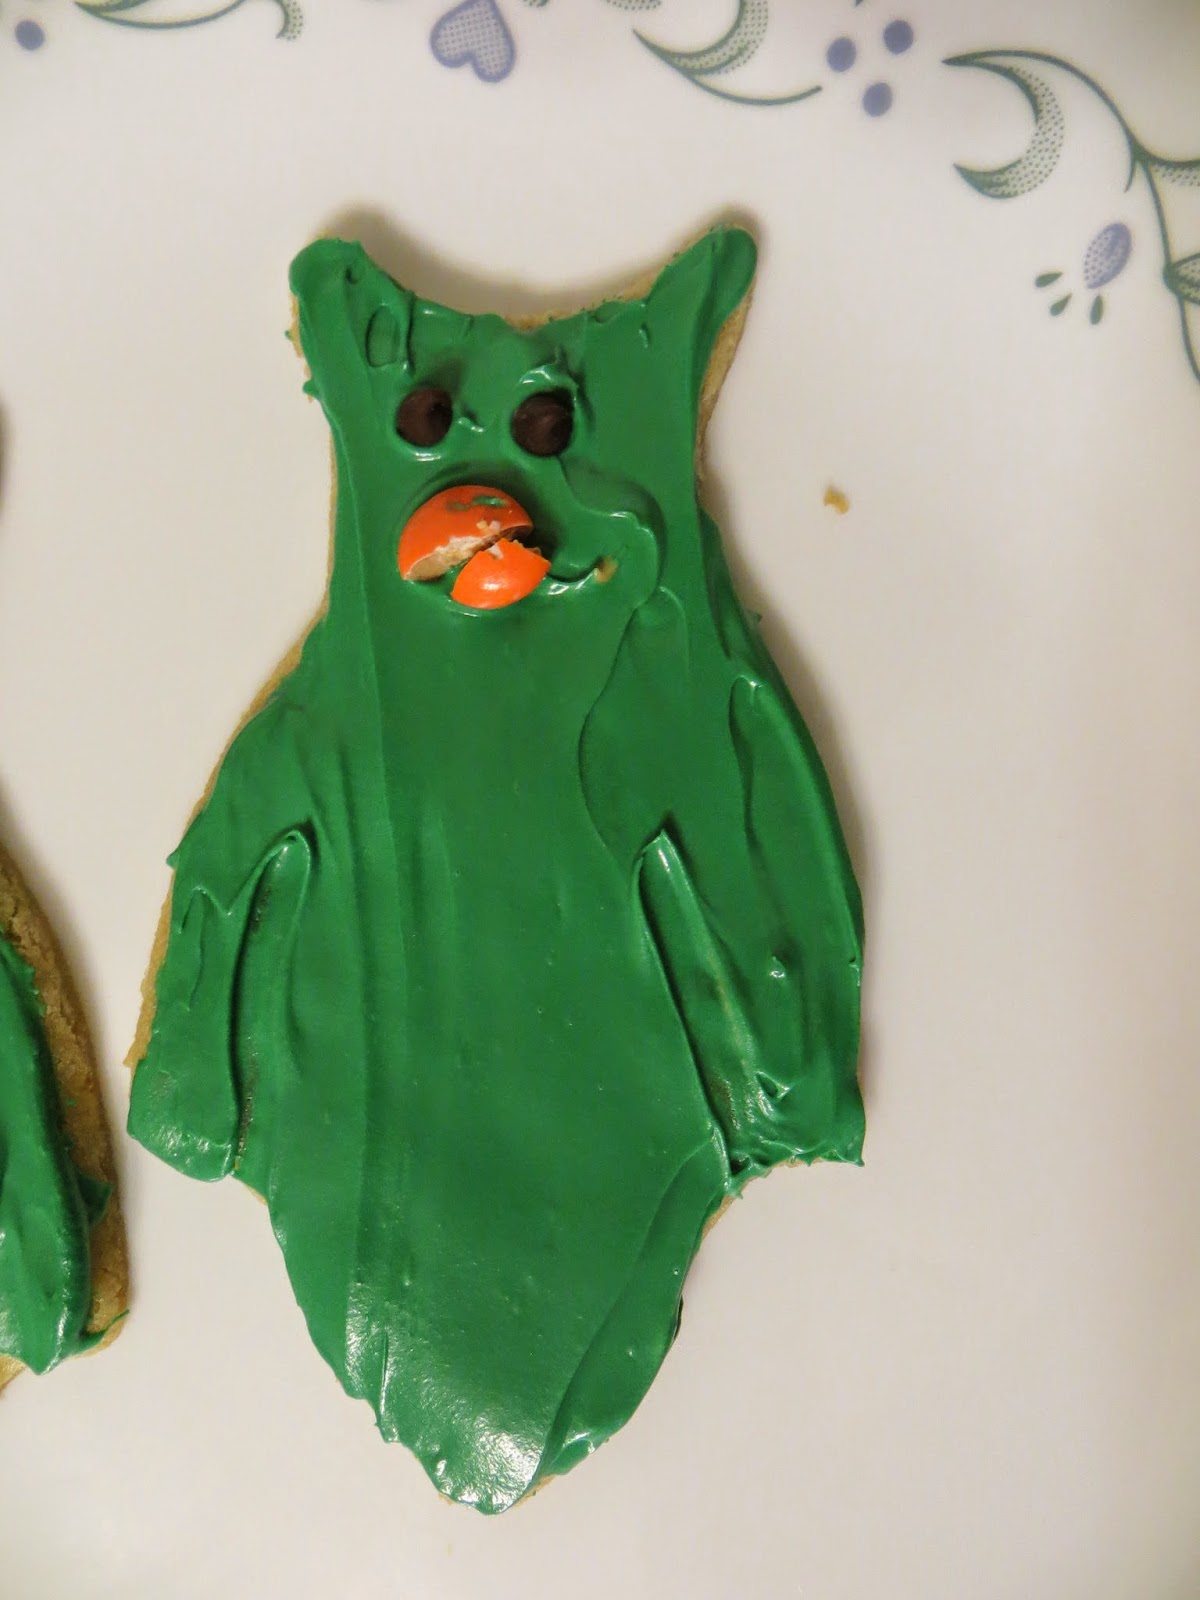
For some reason, this one looks surprised to me.

And I left one of the oversized ones in-tact to decorate him. He was large enough to allow me to use a full candy corn for his beak. I used Reese's Pieces for his eyes, and surrounded them with the mini chocolate chips.
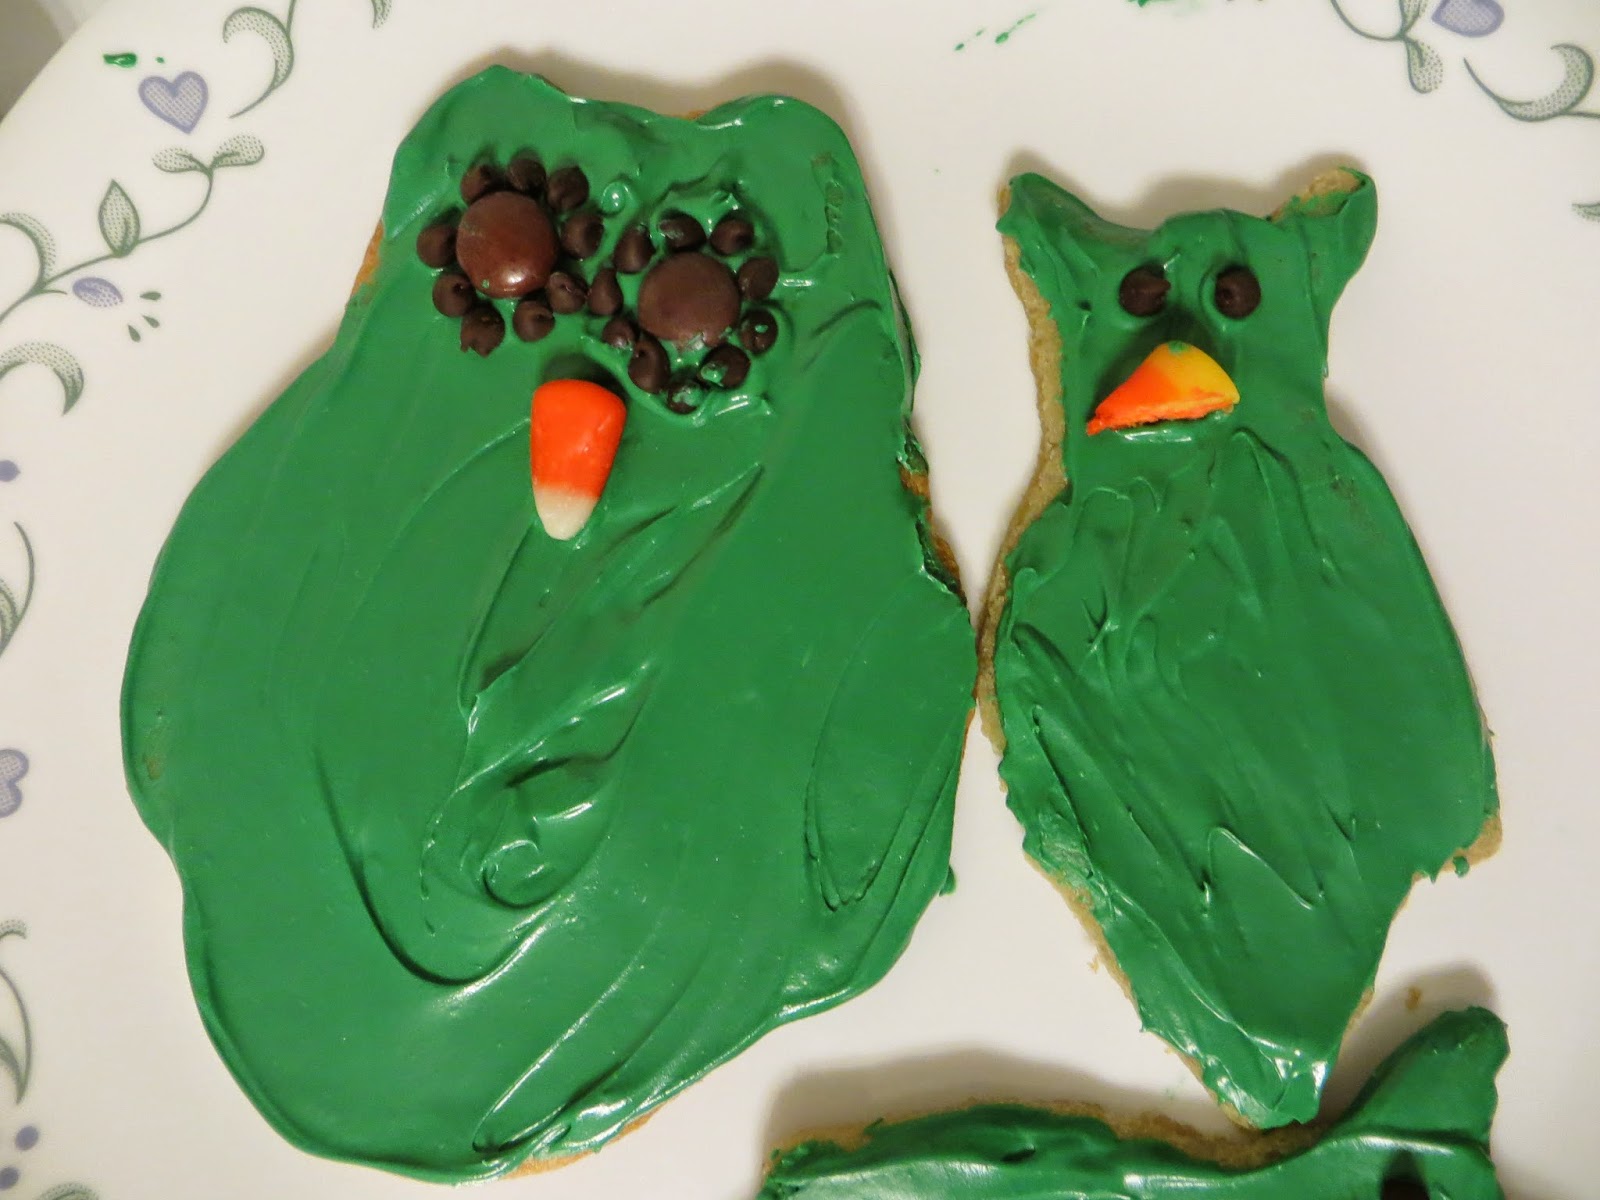
I can't decide which one I like better! I think the expanding-in-the-oven made them like cuter, fatter owls, but the shape is only vaguely owlish now.
Hubby also did a teddybear-fish AKA he did an owl but it didn't transfer to the cookie sheet well, so he tried to fix it and it didn't work. He decided to just go with it and make it a little worse so it would be interesting.
I frosted a fish out of it for him.

I'm a hopeless romantic, I know.
Moral of the story: When things don't go as planned, look for a Plan B. And when Plan B still turns out not-so-great...At least you're still eating sugar cookies with cream cheese frosting.
Have fun, and enjoy!
Cute! ...If a little kiddish.
I also tried Reese's Pieces and sliced one of those in half, breaking one of the halves again, to make a little more of a realistic beak.
For some reason, this one looks surprised to me.
And I left one of the oversized ones in-tact to decorate him. He was large enough to allow me to use a full candy corn for his beak. I used Reese's Pieces for his eyes, and surrounded them with the mini chocolate chips.
I can't decide which one I like better! I think the expanding-in-the-oven made them like cuter, fatter owls, but the shape is only vaguely owlish now.
Hubby also did a teddybear-fish AKA he did an owl but it didn't transfer to the cookie sheet well, so he tried to fix it and it didn't work. He decided to just go with it and make it a little worse so it would be interesting.
I frosted a fish out of it for him.
I'm a hopeless romantic, I know.
Moral of the story: When things don't go as planned, look for a Plan B. And when Plan B still turns out not-so-great...At least you're still eating sugar cookies with cream cheese frosting.
Have fun, and enjoy!