FYI, I did not make the following recipe on his birthday. I made this last weekend and just didn't post it 'til now.
I hope you guys won't be getting sick of pies any time soon. It is fall, after all, and Hubby loves pies, and I love making pies, and we both love eating pies, so...there will be many pies on here. The pie crust will be the same for 99% of any pies you see on here, because I am a firm believer that the family recipe pie crust is the best there is. I am sure there are many people out there with similar beliefs about their family pie crusts, so I don't feel bad saying that here.
This specific pie happened because we went apple picking with our Church! We went along for the ride but my parents were there too and shared some of their apples that they bought, so this is thanks to them.

I was still sick when I made this one, so again I apologize if I missed any steps/ingredients listed here. I forgot to count the apples while I was cutting them so I kind of guessed...I am pretty sure I got within 1 or 2 apples of what I actually used for this pie.
As Hubby said, "Look at you. You're sick and you still can't stop cooking." And this is why I have a food blog.
Let's get down to it:
Prep Time: 30-40 minutes
Cook Time: 45 minutes
Yields: 8 slices
Ingredients:
For the crust:
2 cups flour
1/2 cup cooking oil (I use canola)
1/4 cup soy milk
1 tsp salt
For the filling:
8 apples*
1 cup packed brown sugar
1/2-1 tsp cinnamon, to taste
1/2 tsp lemon juice
Pinch of salt
Vanilla ice cream, to serve.
(*I go for the more sour varieties. If you go for a sweeter apple, cut the sugar down a little.)
Directions:
1. Peel all of the apples and chop them. I like to slice 4 big chunks away from the core and then chop. You can just slice them thinly if you want, but I've always liked to make apple pies with chopped apples.

If they oxidize a little while sitting out, don't freak out. It will taste the same cooked.

2. Add brown sugar (ignore the amount I have on there, I decided to up it after I tasted it.)

You can tell if you have it packed well enough if it keeps its shape when you put it into the bowl.

Add the cinnamon.

Break up the brown sugar as best you can. Little chunks are okay (more flavor in one bite!) but big guy like this need to be taken down.

Show no mercy. See that guy hiding in the corner of this shot? Took him down, too.

Also add the lemon juice.

This may seem like a weird choice, but I think it cuts into the unbroken the sugar flavor a little. Add the pinch of salt now, too, for the same reason. Mix well.

3. Set the mix aside and get started on the dough. Start with the flour.

Then the salt.

Mix them before you add any wet ingredients, although it will be literally impossible to tell if it's fully mixed because the salt does a disappearing act immediately into the flour...

...and it looks like you never added any salt at all.
Onto the canola oil.

Add the milk into the same measuring cup.

The family recipe has this part underlined: Do not mix before adding! If it's underlined, it must be important. I never asked questions.
Add in the not-mixed oil and milk to the flour and salt. Mix until fully combined. This is more of an in-process shot than a fully-combined shot, so don't use this as a benchmark.

Mold the dough into a ball with your hands.

Cut it in half so it looks vaguely like a brain. Or Pac-man. It is almost Halloween, after all!

4. Now, you can either do it the way I used to do it and roll this out between two sheets of wax paper (Nothing wrong with this method), or you can get a handy-dandy pie sleeve. I love this thing. Sometimes I miss the wax paper because, as you can imagine, the pie sleeve is limited in how big the pie crust can be rolled out, but it's still very convenient.
P.s., only use one half of the pie crust, because we're only rolling out the bottom crust right now.

I like to squish it down before I start to roll it.

Roll out the dough with a rolling pin like a normal person. I did not follow this step properly because I have always just borrowed my parents' rolling pin and they needed it back a few weeks ago. So, I may or may not have rolled the dough out with our bottle of balsamic vinegar.

One of these days I will act further like a normal person by not only rolling out dough with a rolling pin, but by going to the store to buy said rolling pin. I just...haven't gotten around to it yet. It makes for a more entertaining experience. Kind of like using a cutting board on top of a clothes dryer!

Place the dough into the bottom of an 8-inch or 9-inch pie pan. (I can never remember which we have. I want to say it's a 9-inch.)

It will probably come out looking a little funky, or having lopsided sections, so just pinch and gently nudge it until it lays flat and covers all of the inner glass of the dish.

5. Remember that filling you set aside? It probably has a little bit of liquid in the bottom, now.

Don't you dare drain this. It is where a lot of the flavor will come from, and we will use it later after the pie bakes.
Pour the filling into the pie crust and spread it into an even, flat layer.

Roll out the second half of the pie crust.

Doesn't this make you want a pie sleeve?
If you want to, you can just set this other half on top of the pie, cut some slits and call it a day. I wanted to get a little fancy, so I set mine out on the cutting board...

...and I cut it into thin strips with a pizza cutter.

Start at the edge, placing one of the shorter pieces across the length pie.

Continue placing strips of pie-crust parallel to the first, leaving spaces about as thick as the pie dough strips in-between until the entire pie has been covered.

It's okay if you have to piece it together because, like mine, they broke on their way across.
Switch directions and repeat, then place on a cookie sheet in case of messy bubble-overs in the oven. Line the cookie-sheet with tinfoil if you want less clean-up, too. I forgot because I was sick. (Still using that excuse.)

Bake in a 375-degree oven for 40-45 minutes, or until the crust is crispy and a little bit golden.

(I got a little photo-happy this time, can you tell?)
Check this bad boy out:

Delicious. Here's another for good measure:
Take a little piece of the crust, just to try it and make sure it's okay.

And let your hubby "check," too.

...This of course being a polite way of saying we couldn't stop ourselves from nibbling before it cooled down.
Let cool for about 30-40 minutes so the flavors can settle and the filling can solidify a little as it cools.
Or, if you're like us, let cool for about 10 minutes and cut a slice while it's still soupy.

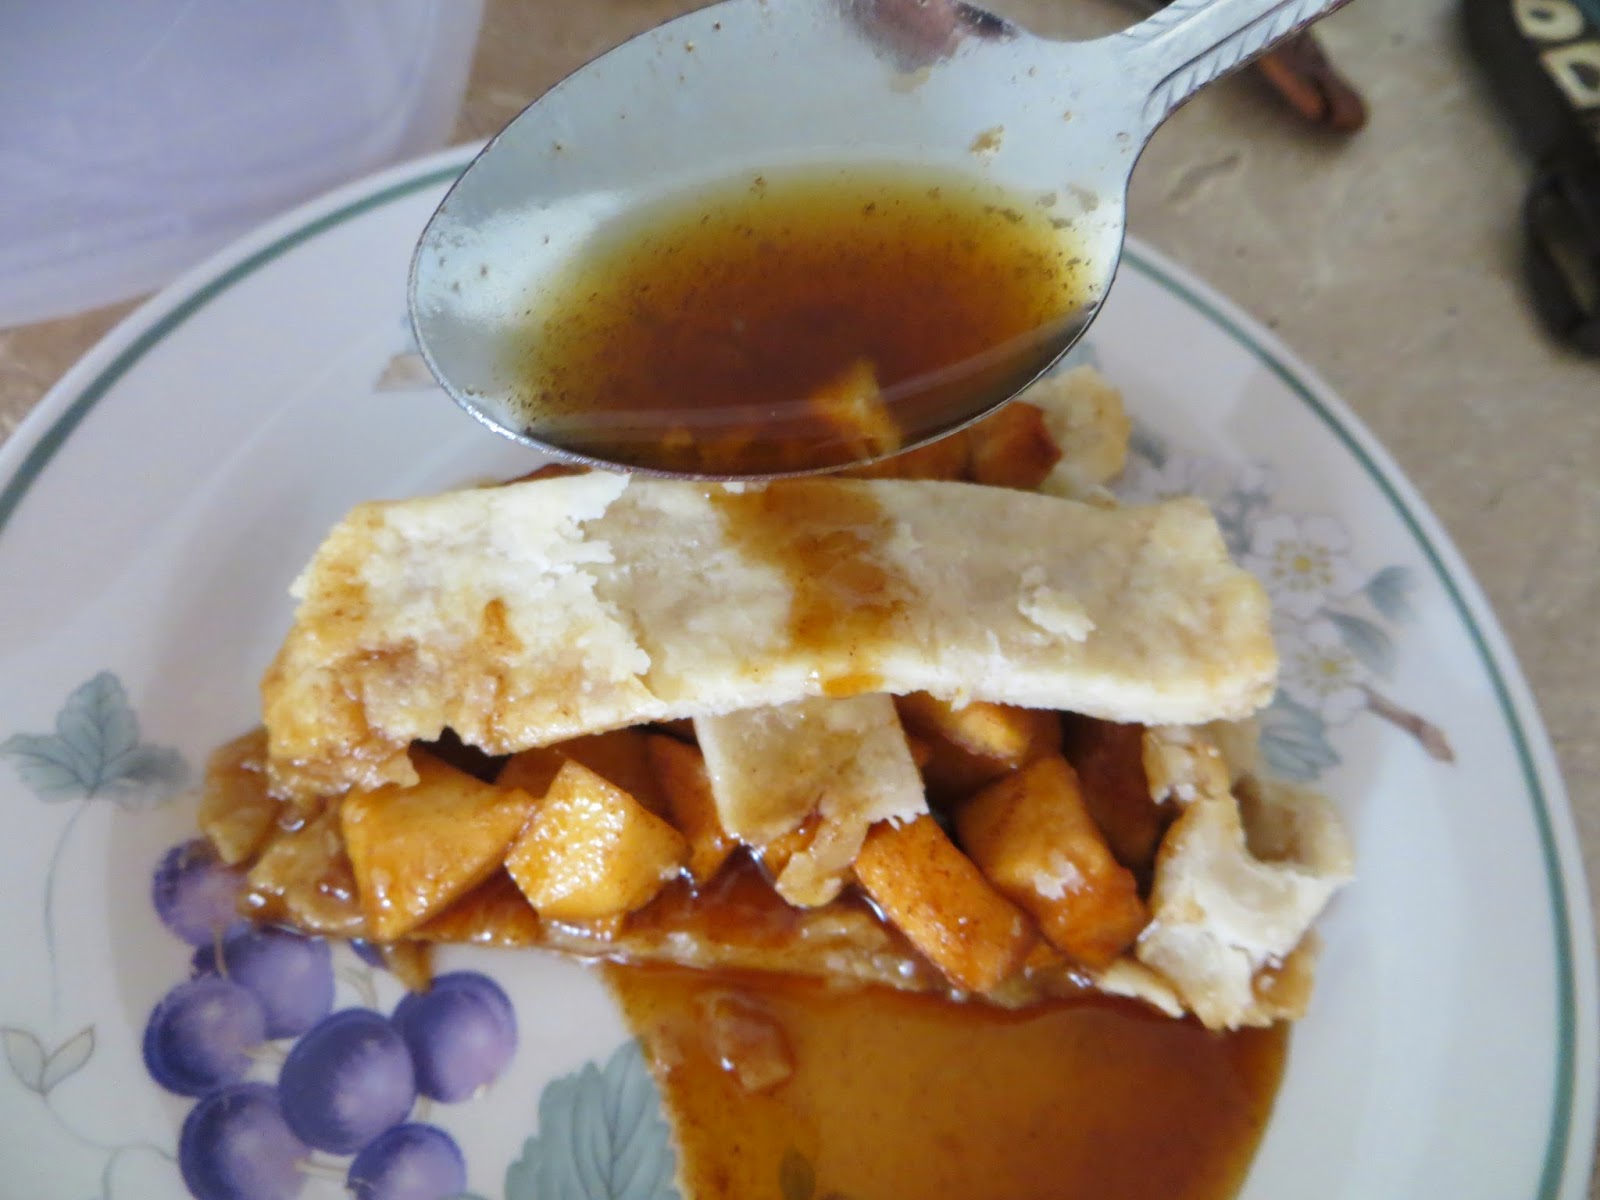
Then take a spoonful of that lovely nectar that happens when you don't let a pie sit...

...and pour all over the top of your slice. Mmm.
Let us not forget the vanilla ice cream.

Not required, but I think it makes life a little sweeter. (Pun only half-intended.)
Doesn't that just make you want to go bake your own pie?

How about now?

And just for good measure, we had another couple slices a few hours later, to make sure it still tasted good.

If you were curious, it did. Hubby and I actually recommend letting it sit for a little while in the fridge so that all of the flavors can properly marry. He always says that pie tastes best the second day, but we always grab a couple slices fresh out of the oven just to make sure that's still true.
Enjoy!
Kitchen hacks for less time/money:
-Substitute a store-bought pie crust for the homemade crust (but promise to try it at least once!)
or
-Substitute store-bought filling for the homemade filling
...Because if you do both, this recipe literally contributed nothing to your pie, other than maybe the recommendation to serve with ice cream.
Kitchen credits:
-The pie crust is a family recipe.
Such a great blog!
ReplyDeleteThanks so much!
Delete