Tuesday, March 31, 2015

Coconut Curry Butternut Squash Bisque

Today's recipe is a guest post from Padre, one of his soup creations! You guys are in for a treat today--this is one of my favorite recipes of his: Coconut Curry Butternut Squash Bisque AKA Winter Squash Bisque for when you are using an acorn+butternut squash mix.


The first time that I ever tried this soup was when he offered to let me take home a few containers of his homemade split pea soup (which will probably end up on this blog someday, too), and I accidentally took a container of this one also. It was a happy accident!

Let's get down to it:

Prep time/cook time: 60 minutes

Serves: ~17 bowls

Ingredients:

2 tablespoons olive oil
3 medium onions
4 tablespoons curry powder
2 teaspoons sea salt
2 teaspoons Himalayan pink salt
2 teaspoons minced garlic
1/2 teaspoon ginger
1/2 teaspoon allspice
1/2 teaspoon pepper
1/2 teaspoon ground thyme
10 cups butternut squash, peeled and diced (Or 8 cups butternut squash, 2 cups acorn squash)
4 cups Rapunzel vegetable bouillon (no salt added)
4 cups boiling water
1x 6 ounce package Grace Pure Creamed Coconut
2 cups hot tap water

Toasted cashews and paprika, to serve (optional)

Directions:

1. Marvel at your spread. (Optional step, of course.)


2. Chop your butternut squash.


And your onion.


In a large soup pot, pour in your olive oil over medium-low heat.


Add in your garlic...


...then the onion. Sauté until tender, about 5 minutes.


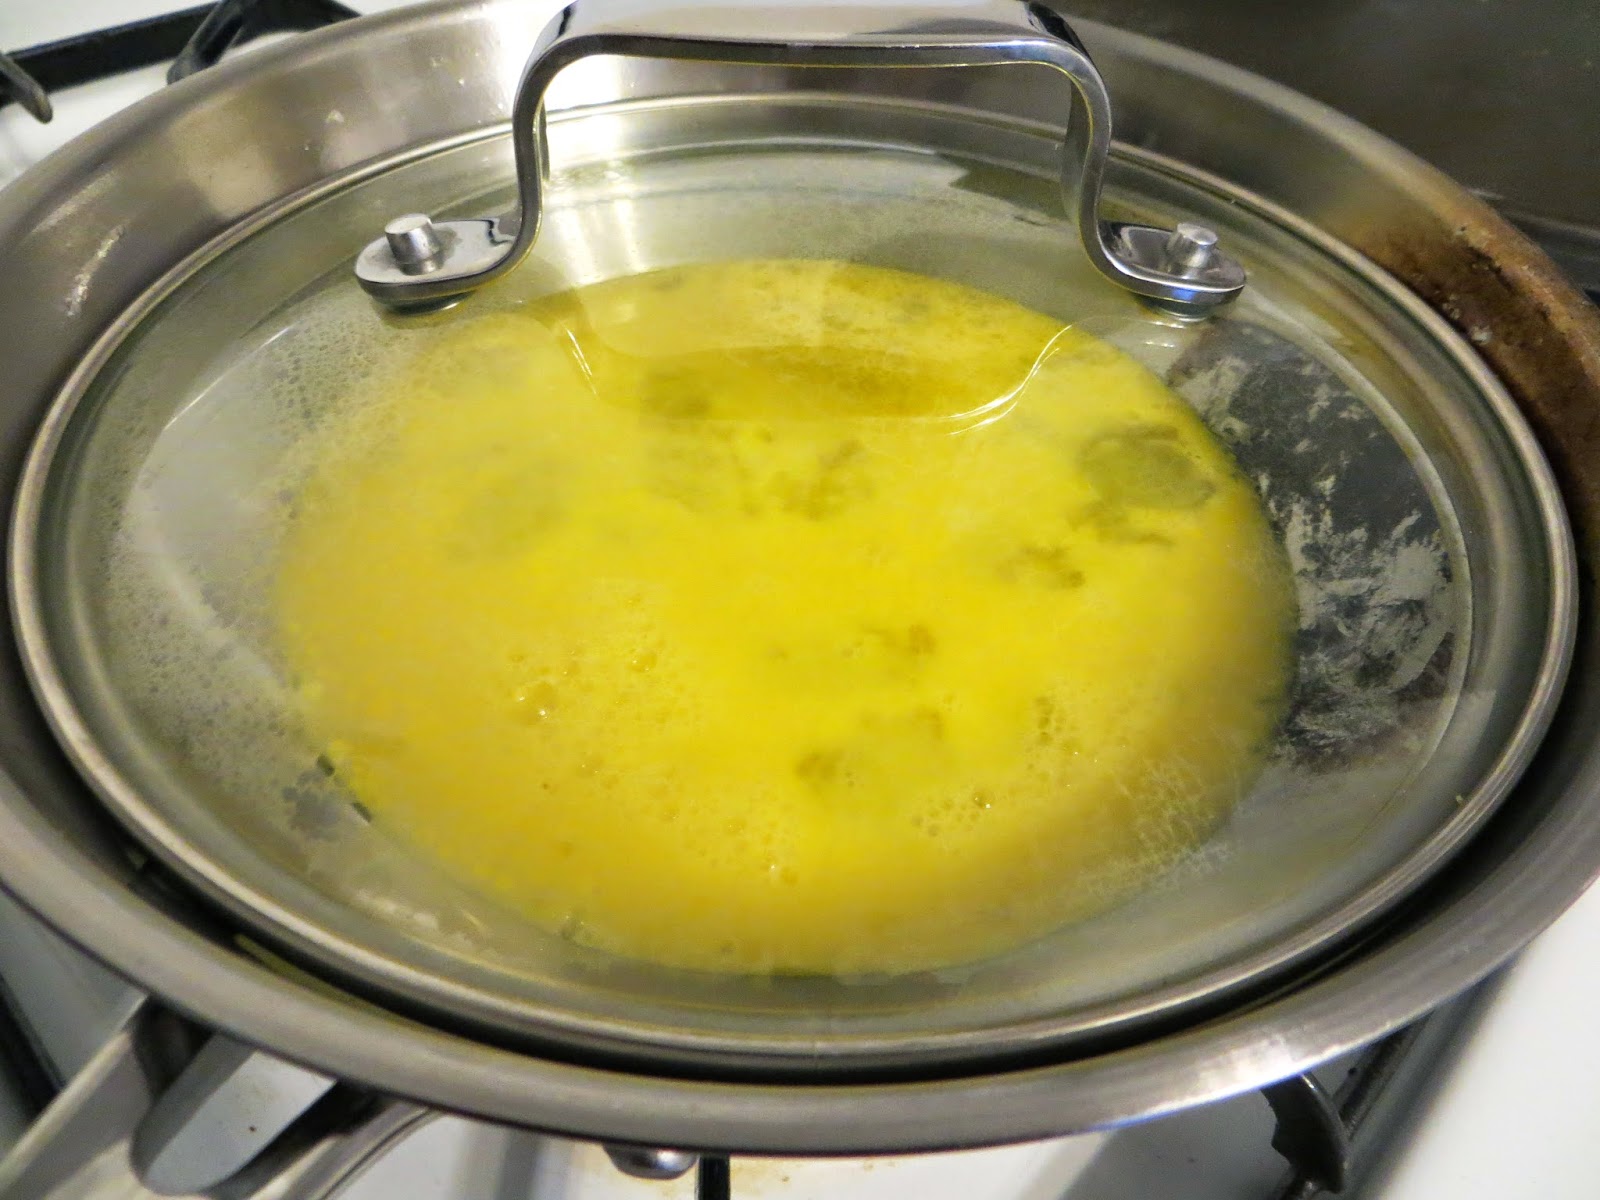
3. While that's going on, soak the coconut cream bag in one cup of hot tap water to loosen it up. Let it soak for at least 10 minutes and massage the bag to break up any stubborn chunks.


In a liquid measuring cup, add creamed coconut with the second cup of hot water and mix well.


4. Add your bouillon to your soup pot.


And the curry powder.


Ginger.


All-Spice.


Pepper.


Thyme.


Sea salt.


And himalayan pink salt. The same amount in sea salt will work, too, if you don't have Himalayan pink salt on hand. (I always have to get some of Dad's when I need it for a recipe.)


Now it's starting to get that little bit of green color from the curry.


Also add in the butternut squash.


And the coconut puree.


5. Bring to a boil and then reduce to a simmer for about 45 minutes.


6. Puree the soup in a blender or with a hand blender.


8. Grab yo'self a bowl!


Top with a little bit of toasted cashews (if you like cashews.)...


...And a little hint of paprika.


Enjoy! Thanks, Padre!

Friday, March 20, 2015

Tulips for Spring!

Happy Spring!

It's the first day of Spring!

Spring has finally come!

Rejoice for Spring!

I'm a little excited. So I made food tulips in celebration!


I have planned on doing this food craft for the last week or so but last night, the moment I got in bed, the moment my head hit the pillow and I closed my eyes (of course)--my eyes shot open and I remembered that we forgot to get toothpicks last night and I also forgot to get the veggies ready.

So, this morning I woke up ten minutes early to cut up the veggies (It's super fast!), and today on my lunch hour at work I got toothpicks. I was a little behind.

Today is a little food craft, not really a recipe, but so adorable! I saw it on Pinterest and knew I had to replicate it. (Although I did it from memory so it looks a little different. Oh, well!)

Let's get down to it:

Prep time: 5-10 minutes

Cook time: Zero!

Yields: 5 "tulips" (but super easy to make into a much bigger batch!)

Ingredients/Supplies:

5x 1/4"-thick slices of carrot
5x 1/4"-thick slices of cucumber
5 toothpicks

Directions:

1. Let's start with the carrot slice.


Slice off about 1/5 of the top of your carrot slice. It seemed to line up with the inner ring when I did it.


Starting at one of the ends, cut out a tiny triangle from the flat edge you just made.


Cut another triangle out of the center of the carrot slice.


And repeat the triangle-cut for the other edge.


Here you have your flower!

2. Now your cucumber slice.


Starting about 1/4"-1/8" from one of the cucumber edges, make a curved slice out toward the top. (I actually had to cut down on this leaf afterward, it was a little too big.)


Starting from the same center point, make another slice mirroring the first.


Remove the little triangle shape that you made.


There are your leaves!

3. Repeat with all of the other slices.


4. Grab your toothpicks.

Gingerly (did I mention gingerly?) slide the cucumber onto the toothpick, a bit over halfway up.


Gently pop the carrot flower onto the top.


And there you have a teeny-tiny vegetable flower!

Rinse and repeat for the rest, until you have a little garden going. Aren't they so cute?

Methinks this would help with picky eaters...Just a hunch!

Enjoy!

Wednesday, March 18, 2015

A Frozen Pizza Kind of Night

Not to be redundant, but last night was a frozen pizza kind of night.

I tried in vain for almost an hour to muster up the inspiration to A) Decide what to make and B) Actually make it. I even thought about possibly mustering up the desire to C) Go to the store to get anything I needed for whatever recipe I chose.

I went from:

-Something Irish (St. Paddy's Day, duh) like Irish Soda Bread (but I didn't have any currants or buttermilk), Shepherd's Pie (but it would be too complicated), Irish Tea Cake (but we're trying to cut down on sweets and I'm not much of a cake person, and...well, it's not dinner).

to

-French bread pizzas (but I have no sauce and didn't feel like making any)

to

-White French bread pizzas (but the internet could not decide on a recommendation of butter or olive oil for a sauce)

to

-Goulash (but I still had no sauce)

to

-Cookies of any kind (but baking takes too long and I still needed normal dinner)

to a variety of others, and I had excuses for them all. I was giving myself anxiety trying to get A, B and C in line.

And Hubby wasn't home for dinner, and it's always more difficult to feel like cooking when Hubby won't be around to eat it.

So, I made a frozen pizza.

And I added some veggies to it to make myself feel better about having pizza for dinner.

And then we went on a walk to fix the fact that we had pizza for dinner.

At least we had leftovers for lunch!

See you Friday for a new recipe, y'all. I've got some cute Easter/Spring-themed stuff coming up!

Monday, March 16, 2015

"Caprese" Breakfast Sandwich

Remember way back when in the original breakfast sandwich post, I said that I would probably do "fancy" ones eventually?

Here's the first one!


I also like to make this combination into an omelet (usually with onions, too, in that case) but today I did a breakfast sandwich instead. Well, Saturday I did. You know what I mean.

The caprese is in quotes because real caprese uses basil leaves, and I used pesto instead for more flavor. And the ingredients list is a lie because I accidentally bought "normal" mozzarella instead of fresh mozzarella, which is what caprese actually uses most of the time. Either mozzarella works, really.

Anywho--Let's get down to it.

Prep time: 2 minutes

Cook time: 5-7 minutes

Serves: 2

Ingredients:

2 large eggs
1/2 plum tomato, sliced
~2 large slices of fresh mozzarella
1 teaspoon pesto
1/3-1/2 baguette, sliced lengthwise

Directions:

1. Start with your eggs.


Crack 'em into a bowl--


--and wreck 'em. (AKA scramble them.)

2. Spray a small skillet with non-stick cooking spray.


Pour the eggs in over low heat and cover.


Cook for about 3 minutes on one side, until the top is almost solid.


Flip onto the other side and cook for another minute and slice in half.

3. Toast your bread.


Slather one side in pesto. If you have access to fresh basil and feel like making your own pesto, feel free! I used store-bought, but I'm hoping this summer to finally tackle making my own. My Aunt Lori makes it in huge bunches with basil from her garden!


Lay out the fresh mozzarella.


Layer the two halves of your egg patty on there.


Tomato--


Top with the other half of the bread and slice it in half to make two sandwiches.

There you are!


This is the part where I don't mention that when I picked the plate up to take a picture, the top half of one of these sandwiches slid straight into the toaster. There's still a little slice of tomato in there that I'm not quite sure how to get out.

I mean.

Everything went perfectly with no errors or tomatoes-in-toaster!

Enjoy!