Tuesday, April 21, 2015

"Chicken" and Rice with Mushrooms and Asparagus

Once upon a time, I thought I hated asparagus. Then, to be polite, I ate some at a friend's house...and realized I didn't hate asparagus at all, but that I hated canned asparagus. I love fresh asparagus!

It's still not something that I cook with too often, but when Hubby and I went grocery shopping last weekend, I thought, "What the heck? Why not."

And so, this happened.


I also had a family pack of sliced baby portobellos that were calling my name, so they joined the party.

Then I realized almost at the end of the dish that rice would be perfect in this, so I huffed and puffed and made a little bit of rice last-minute--it really made the dish, to be honest. Sometimes the last minute ideas are the best!

I've gotta work on shorter recipe names.

FYI, re-heated asparagus does not taste as good as freshly steamed asparagus, so keep that in mind for leftovers!

Let's get down to it:

Prep time: < 5 minutes

Cook time: 20-25 minutes

Serves: 2-3

Ingredients:

1/2 bunch of asparagus
1 cup baby portobello mushrooms
2 Quorn "chicken" cutlets, cooked
1/2 cup brown rice, cooked
1 cup vegetable bouillon
2 tablespoons flour
1/2 teaspoon garlic powder
1 teaspoon onion powder
1 teaspoon chives (dried)
Salt, to taste
1 tablespoon shredded parmesan cheese, to serve

Directions:

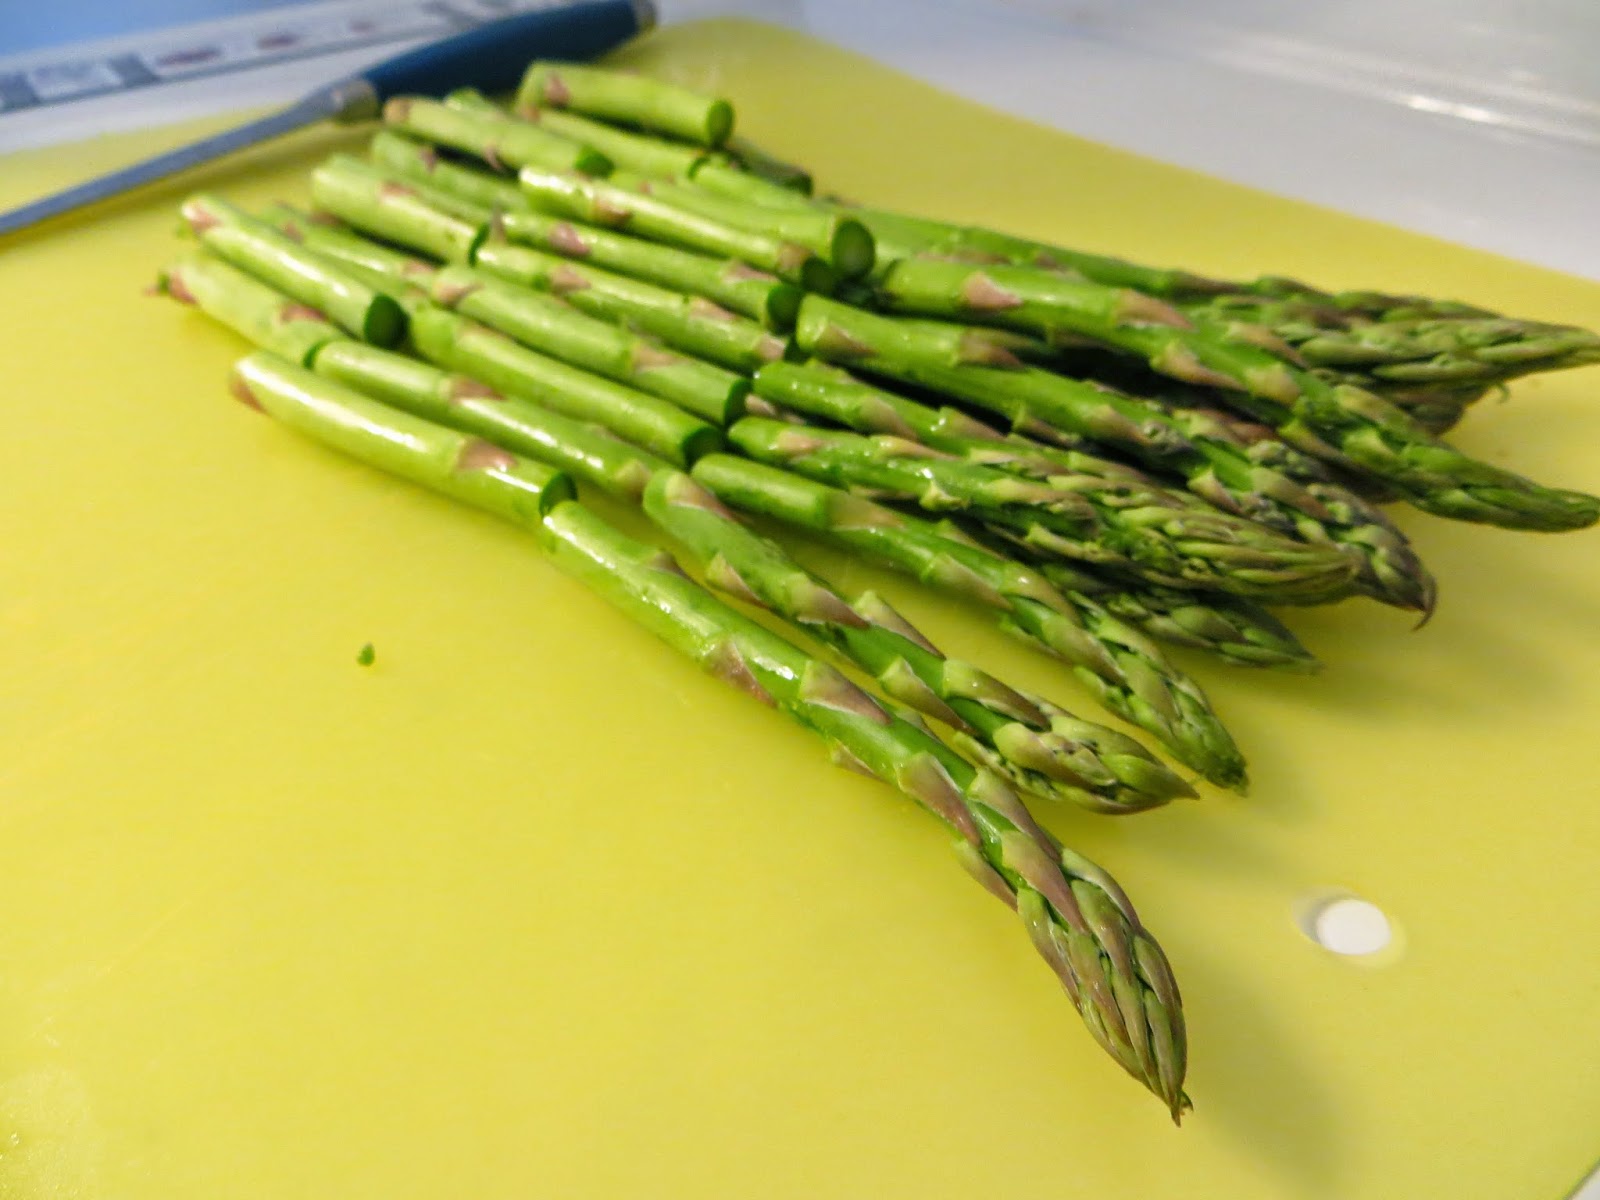
1. Get those asparagus out, and chop off the ends, since they can be woody.


Chop the remaining stalks into bite-sized pieces. (Ignore the big pieces you see here, I realized my mistake later.)


Pop those bad boys into a steamer...


...for about 5 minutes, until the asparagus is nice, tender and bright green. Turn off the heat and set aside.


Does anybody else think it's neat how much brighter veggies get when you steam them? I think they're gorgeous!

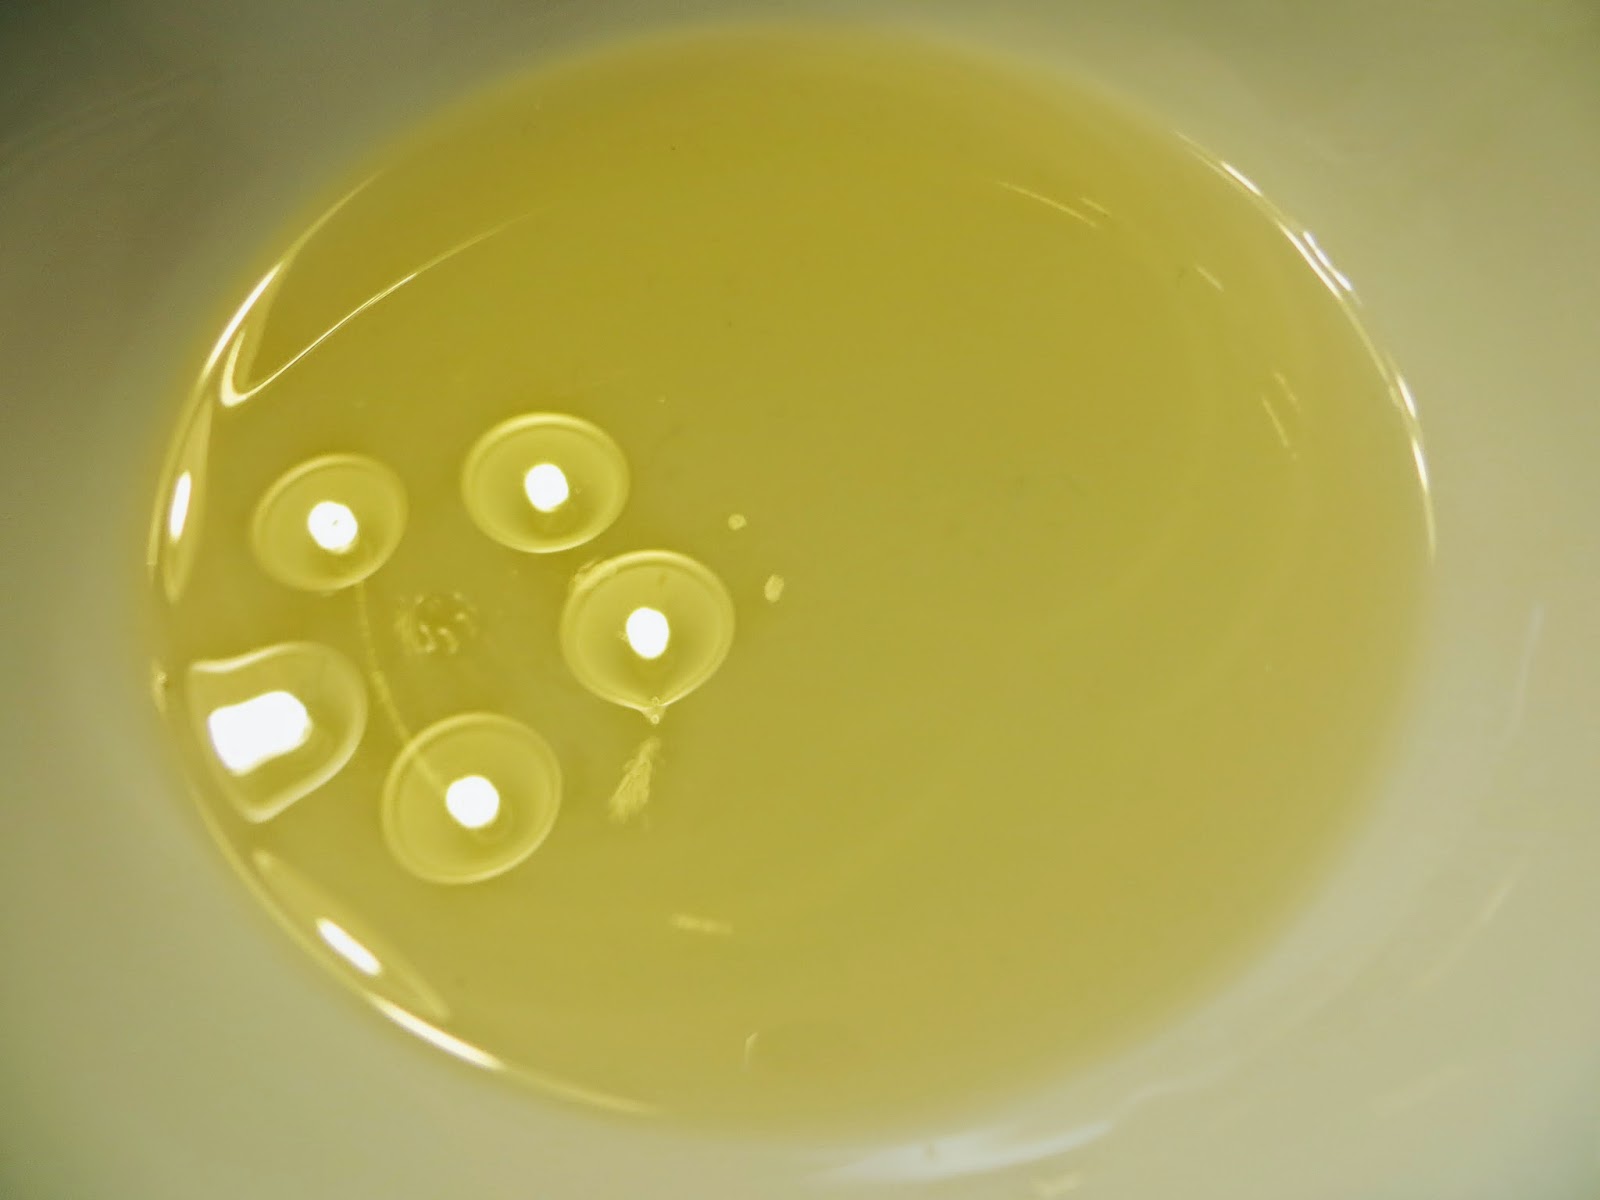
2. Add your bouillon cube to a skillet of boiling water. You can make it ahead and add it already done if you like, but I enjoy the sizzle the water in the shallow pan makes.


Add all of your spices: onion powder, garlic powder and chives.


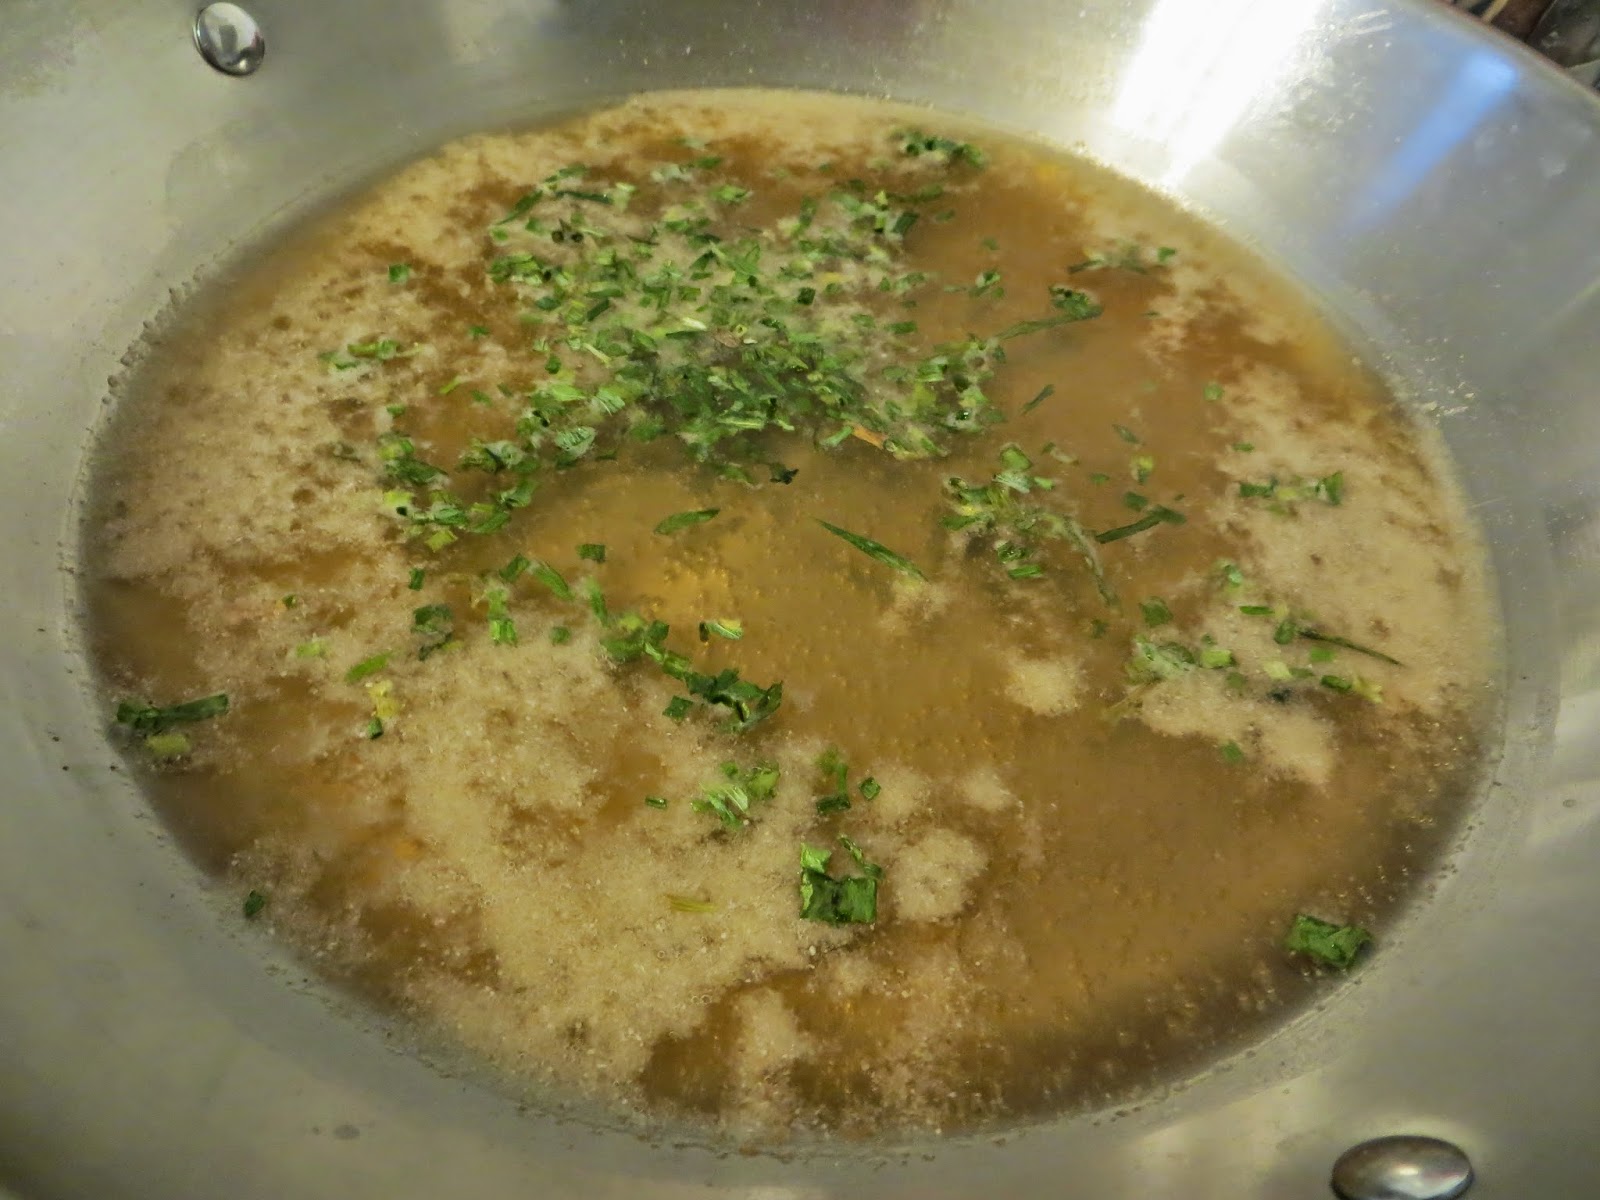
Next, add the flour and whisk until fully combined--Or at least almost combined...mine was stubborn. It worked itself out as the rest of the dish cooked.


If you're gluten intolerant, I would guess you could use cornstarch instead, and have a similar effect and flavor.

3. Reduce your heat to medium-low and pop in your mushrooms. These came pre-sliced, but I did break the bigger ones in half.


Cook for about 5 minutes, until the mushrooms are getting tender. This concoction tastes almost exactly like mushroom soup, actually.

4. Add in your asparagus.


And your chicken.


Mix it all up.


Since everything is fully cooked at this point, you can take this off the stove now. I personally wanted it to get nice and tender, so I left it on another 5 minutes or so.

5. Prepare your rice. You can use more rice if you want, but I didn't want the rice to take over too much.

Plop about half of the rice into a bowl.


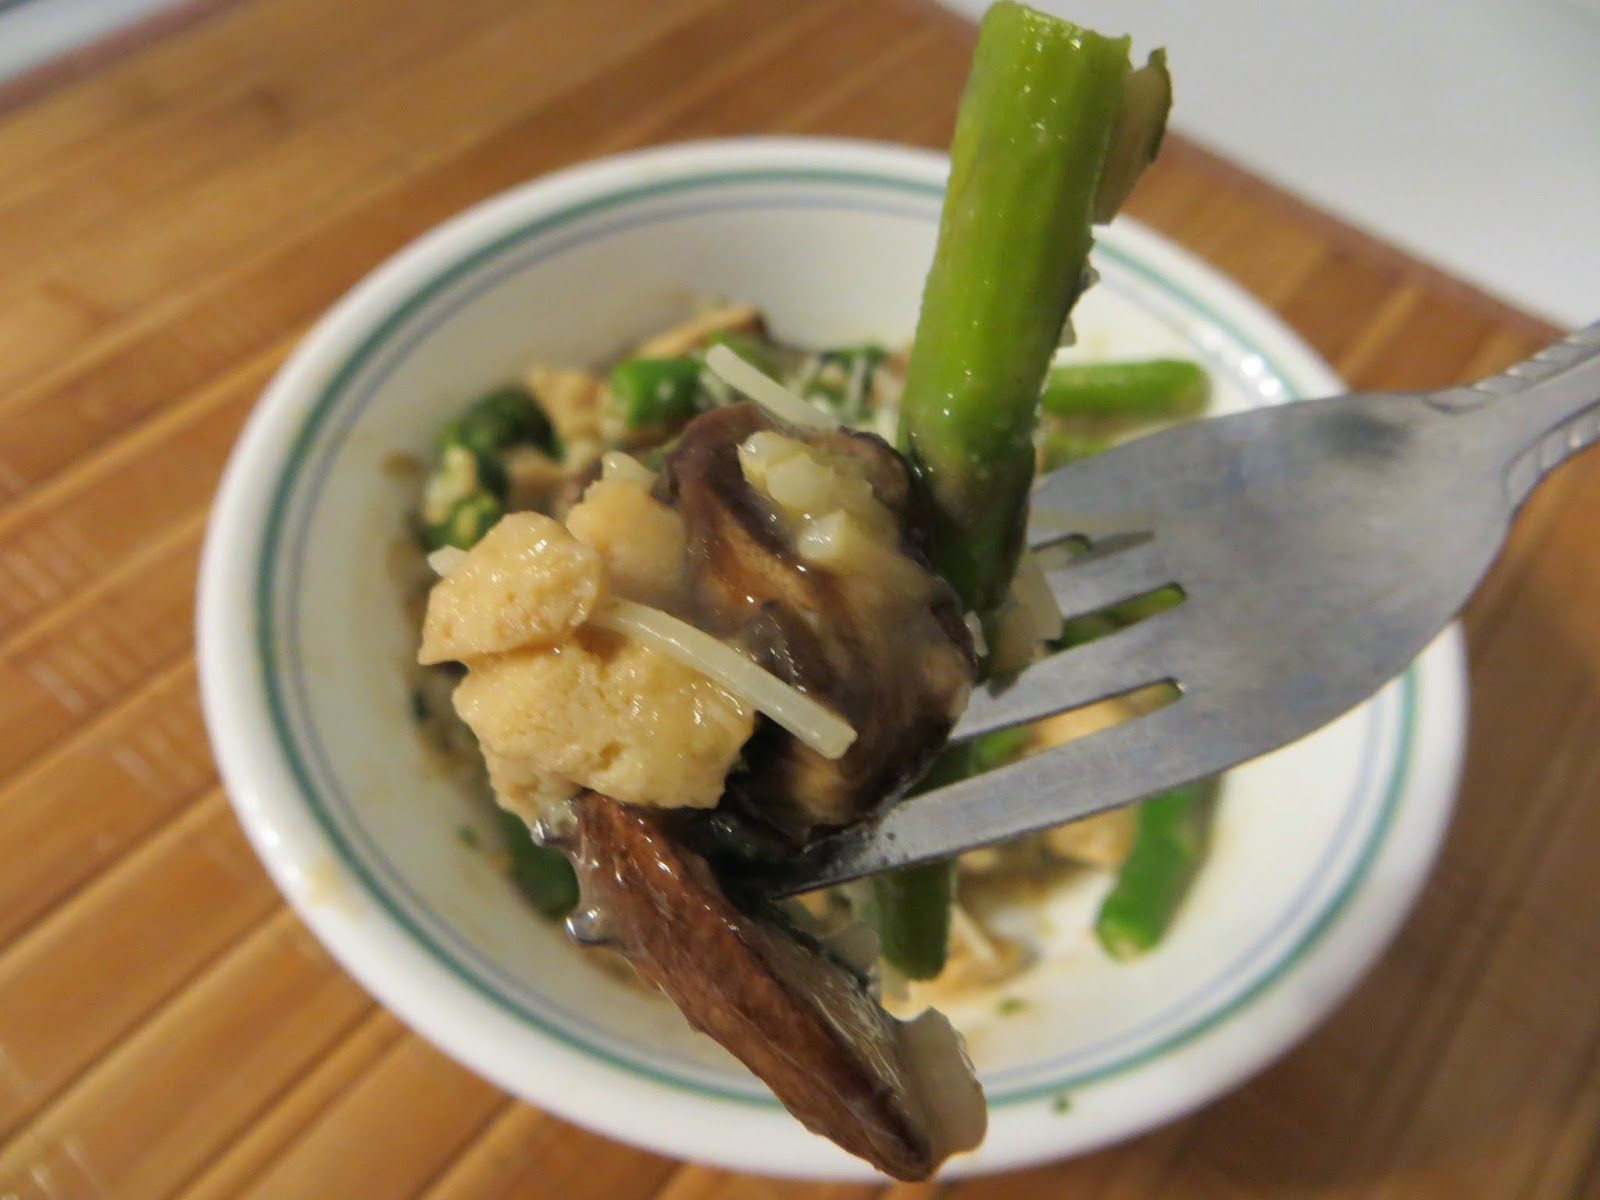
Put a heaping spoonful of the asparagus and friends in a bowl.


Top with a bit o' parmesan.


And enjoy!


Friday, April 17, 2015

Summery Dill Cucumber Salad

Sometimes I just don't want to eat anything heavy. That's usually when the weather is gorgeous, the sun is shining, and I also don't want to cook because I would rather be outside. That's when I "make" instead of cook or bake, and that's also when things like this happen.

I've always loved cucumber and tomato salads. I love how light they are, how fresh they are, how colorful they are...pretty much, they're the bomb. So, here you go!


I made this a couple nights ago alongside some barbecue chicken wraps. It was super fast, super simple, and Hubby and I ate it outside on our apartment's flower garden rock wall. It was pretty nice.

Warm weather, I am so glad to see you.

Let's get down to it:

Prep time: 5-10 minutes

Cook time: Zero!

Serves: 3-4

Ingredients:

2 large tomatoes, sliced
1 medium to large cucumber, sliced
1 small cooking onion, sliced
3 1/2 tablespoons olive oil
3 1/2 tablespoons rice vinegar
1 1/2 teaspoons dill + more for garnish
~1/2 cup feta cheese

1. Mix all veggies (/fruit, since tomato is a fruit) in a large bowl.


5. Add your olive oil and rice vinegar, and dill.


Mix everything well.

7. And finally, add the feta. I've always thought low-fat feta tasted the best, but in our little country Tops they only had normal feta.


Serve it up with a little extra dill for garnish.


Whichever kind of feta you use, enjoy!

Tuesday, April 14, 2015

Sushi!

When I wrote about making spring rolls, I mentioned a time that I tried sushi and it didn't work. This time...still didn't quite work, but they were edible and tasty and I think this will be sort of a trial-and-error-through-practice kind of food.


I managed to get them to look kinda pretty though, so I'll post it here. Have no fear, there is no mat needed, either! I referenced Minimalist Baker's recipe and edited the "no mat needed" part since we don't have any plastic wrap.

Let's get down to it:

Prep time: ~20 minutes

Cook time: 10 minutes

Makes: 3-4 rolls

Ingredients:

3-4 sheets of nori
2 cups instant brown rice
3 tablespoons rice vinegar
2 tablespoons sugar
1/2 teaspoon salt
1 avocado
1/2 carrot
1/2 small cucumber

Directions:

1. Let's start with the "flavoring" of your sushi rice. I accidentally did the full amount of flavoring for half the rice, but it was still good--just different. I adjusted the recipe for y'all.

In a small saucepan, add in your rice vinegar. (The other recipe calls for rice wine vinegar but this is what my grocery store had.)


Then your sugar.


And your salt.


Stir frequently over medium to medium-low heat until the granules are fully dissolved into the vinegar. Set aside and chill in the fridge.


2. In the same pan (extra flavor!), make your brown rice following the directions.

Stir in the vinegar solution and set aside to cool a bit. (It's hard to make sushi with hot rice. I tried.)


3. Slice up your veggies (/fruit. Avocado is technically a fruit.).


Avocado.


Cucumber.


Carrot.


The thinner, the better. I left the avocados larger since I wanted the rolls to be mostly avocado.

4. Grab a hand towel.


Cover in plastic wrap, if you're following the other recipe, or wax paper if you're following my method. I found that it worked just fine!


Lay out a nori sheet, shiny side down. (I can attest that this does make a difference.)


5. Spoon rice onto your nori roll and pat into an even, thin layer. The heat and moisture from the rice will soften up the nori for rolling.


About 1/4 of the way from the bottom edge, lay out some avocado.


Then cucumber.


And finally carrot.


6. You're ready to roll! ...Maybe.

Curl your wax paper up to start a fairly tight first roll.


This is what your roll will look like underneath.


Keep doing little increments until the roll is complete and tight. Don't be rough on it, though, since nori can be fickle.


7. Here's your roll!


The ends of mine were a little dry since the rice didn't go all the way to the edge, so I just chopped those off.

Slice gently with a very sharp knife--the sharper the knife, the smoother the roll cut will be.


Serve with soy sauce for dipping, or tamari sauce if you're gluten intolerant.


Enjoy!

Thursday, April 9, 2015

Banana Nut-butter Muffins

Hubby and I have been trying to eat healthier lately, so I've been making healthier recipes--or at least trying.

I've always disliked when people post "health food" recipes and claim that they will taste exactly the same as normal, full-fat, full-sugar recipes, how you'll notice no difference whatsoever, how they're even better than the regular kind!

Well, I will not tell you any of those things, because I don't think they're true, but I do think that these muffins are pretty dang good anyway! P.S., no sugar added, but feel free to add some maple syrup or honey (to keep with the natural ingredients) if you'd like a little more sweet.


These are gluten-free, almost-vegan (easy to substitute the eggs out), packed with protein and just about guaranteed to keep you full until lunch time (if you bring them for breakfast.).

They're a combination of a recipe that I found on Pinterest and my mom's banana-nut bars, which I may make in a separate post eventually, and just my little bit of "I need to add something here" that comes with most recipes.

Let's get down to it:

Prep time: 2 minutes

Cook time: ~20 minutes

Yields: 8 muffins*

*which Hubby decided to call "A baker's half-dozen"

Ingredients:

2 large, very ripe bananas
2 eggs
1 cup nut butter (cashew or peanut)
3-4 teaspoons cocoa powder
2 heaping tablespoons pecans
25-30 chocolate chips

Directions:

1. Since these are blender muffins, grab your blender. I'm sure that a food processor would work as well. (P.S., how do you gracefully photograph ingredients in a blender in a small kitchen? I'm still trying to figure it out.)

2. Add your bananas.


Eggs. (I promise they're both there.)


Nut butter. (I've found that cashew butter tastes better than peanut butter here, but use whatever you like!)


Cocoa powder.


And blend the heck out of those babies! You might have to use a spatula to scrape the sides a few times.

3. I forgot to get a picture of this, but when they're about done, add in the pecans and pulse a couple of more times. We don't want totally blended pecans, but enough to get them chopped and distributed evenly.

4. Grab a muffin tin and spray with non-stick spray (you will need it with these.)

When you pour the muffin batter in, make sure you fill it almost to the top. These don't have any rising agents in them, so they won't puff out much.


5. Pop a couple of chocolate chips onto each. I did 3-4 per muffin--you don't want too many, since these are supposed to be mostly healthy.

6. Throw those into a 375-degree F oven and bake for about 20 minutes, until a fork or toothpick inserted in the middle of a muffins comes out almost clean. (Check a couple of muffins, just in case!)


Let cool, and enjoy!