Friday, January 30, 2015

Mini Berry Pies

It's my mother-in-law's birthday Sunday, and almost every time I make a pie, she jokes that I should bring her a slice. So, for her birthday this year I decided to make her mini-pies! In the shape of hearts, because who doesn't like cute pies with fun shapes?


(Don't worry, this won't spoil the surprise. We celebrated her birthday last weekend!)

I got the idea to make them in a heart shape from Pinterest, but it was for some kind of other pastry and my brain immediately said, "Nooo...It's pie time."

P.S., these would be super cute for Valentine's Day, too!

Let's get down to it:

Prep time: ~20 minutes

Cook time: ~40-45 minutes

Serves: About 10 mini-pies

Ingredients:

For the crust:

2 cups flour
1/2 cup canola oil
1/4 cup soy milk (or cow's milk)
1 teaspoon salt

For the filling:

1/2 - 3/4 cup frozen berries
3 tablespoons sugar
3-4 teaspoons flour, to thicken

Confectioner's sugar, to serve (Optional)

Directions:

1. Make your crust and roll it out. You can get the directions from the crust steps from my turkey pot pie recipe.


Grab a heart-shaped cookie-cutter.


Gently press.

(P.S., my mother-in-law gave me all four of the nail polishes I used on those nails. I would say it's coincidence, but I don't like to lie.)


Wiggle it a little to break off any stubborn bits that didn't cut quite right, and you have a little heart!


Continue balling back up the dough and rolling it out until you've made as many hearts as you can. Keep in mind, you need two hearts per mini-pie. (A top and bottom crust!)


2. Pour your berries into a small sauce pan. I used a blend of berries, but you can use whatever the heck kinda berries you want! Just make sure to crush or cut the big ones since these little tiny pies can't really handle large chunks.


Cook over low heat until the berries are all melting together.


Add the sugar.


If you stopped here, this would be about my normal pie filling. But, since these aren't being baked in a dish, all this runny stuff would just come out while it was in the oven.


And that would be a really messy lot of pies.

So, to thicken I added a few teaspoons of flour, one at a time.


Much better! (Pardon the blur.)


3. Plop a little bit of filling onto one of the hearts, leaving a bit of space around the edges to pinch the crusts together.


Set a second heart on top.


And gently pinch together with a fork.


Keep going around the whole edge until they're fully together.


4. Pop that into a 375-degree F oven and cook until the pie crusts are nice and crisp, about 25-30 minutes.

Aren't they so cute?


I love these little things.


To finish them off, I topped them with a little bit of confectioner's sugar.


See all the messy bits in the back there? Think how much worse it would have been if we hadn't thickened the berry filling! The spilled stuff broke away from the crust very easily, though.


Anywho!

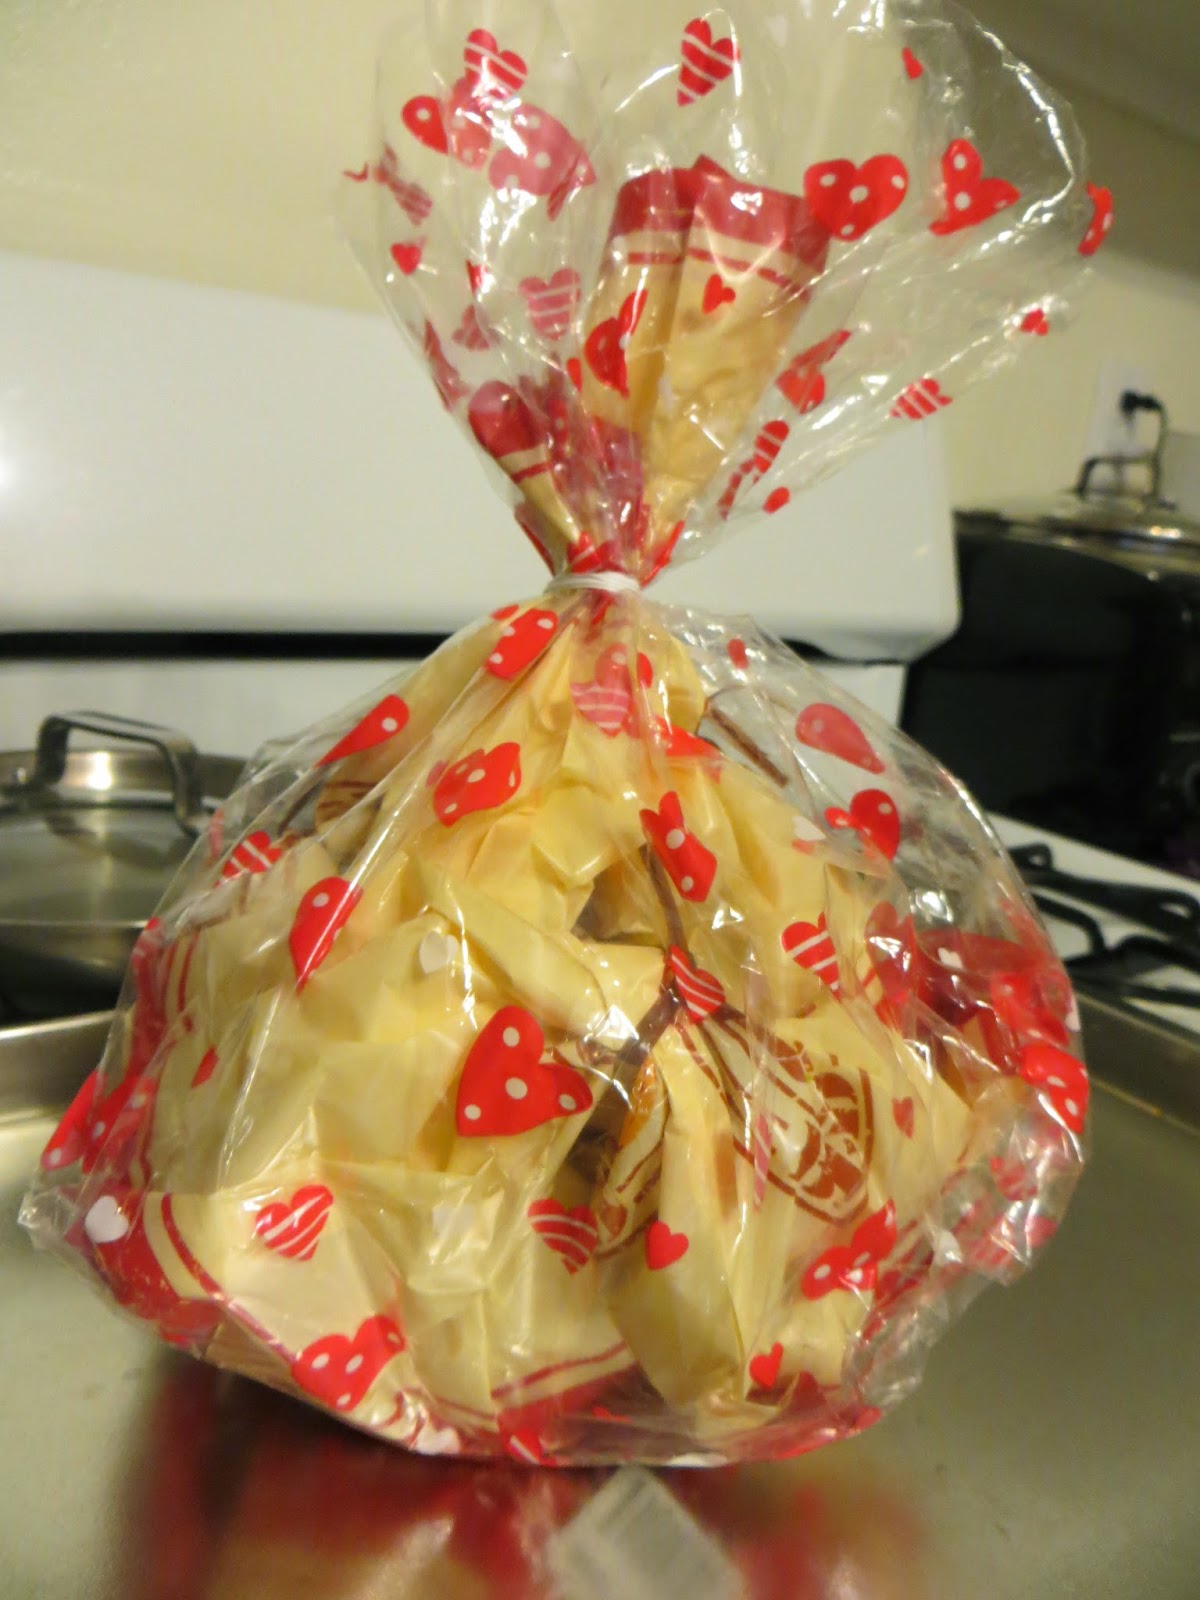
My mom let me take some of these adorable bags from her.


I put each little pie into an individual bag and tied it off.


And then put them all into a giant heart-print bag that my mom also happened to conveniently have lying around.


They were super tasty! Hubby and I sampled one of the messier ones. Here's a look at the inside.


And the best part, my mother-in-law loved them too!

Enjoy!

Monday, January 26, 2015

Rotini Alfredo Primavera

This is actually more of a "fauxfredo" than Alfredo sauce. "Real" Alfredo is made with just parmesan and butter, while this has lots more goodies in it.

I was reading a recipe for "skinny" Alfredo sauce on Pinterest and I started adding things in my head. What I ended up with was some kind of rotini alfredo + pasta primavera something-or-other.


In the end, whatever the heck this dish is, it was delicious.

Let's get down to it:

Prep time: ~5 minutes

Cook time: 25-30 minutes

Serves: 4

Ingredients:

3/4 of a 12 oz box of tricolor rotini pasta
3/4-1 medium onion
1 garlic clove
1/2 stick or 1/4 cup butter
1 cup vegetable bouillon
1/4 cup parmesan cheese
~2 tablespoons mozzarella cheese
~2 tablespoons smoked gouda
1 - 1-1/2 cups soy milk
1 cup frozen or fresh green beans
1/2 cup frozen or fresh broccoli
1/2 cup frozen or fresh peas (shelled)

Directions:

1. Start with your pasta.


Love that color!

Follow the directions on the box to boil as directed.


2. Chop your onion.


And your garlic.


3. In a large skillet or saute pan, melt the butter.


Add onions and garlic and cook until tender, about 3-5 minutes.


About this time, the pasta should be done. Drain that and set aside in a large bowl--or whatever bowl you'll be serving this out of, if you're like me.


Add your vegetable bouillon to the onions.


Let that simmer for several minutes.

While that's going on, get out your green beans. You can chop them if you wish, but I left them as-is.


The broccoli, too.


If you have a steamer, throw those in. We have a steamer set that came in the pan set we got as a wedding gift (Thanks, Bili!), but I totally forgot it was a steamer literally until the moment that I made this dish.


I was very excited to rediscover it.

If you don't have a steamer, try a microwaveable bowl with a lid or small plate covering it. Works almost as well!

Cover and steam until the veggies are warm and getting tender. I like a little crunch, so I didn't fully cook them.


Repeat this process with the peas.


Throw those all in with the pasta.


And mix!


Back to the stove!

Add your parmesan cheese to your onion mix.


Grate, cube or slice the mozzarella and gouda.


Add those to the aspiring sauce.


The cheeses will be a little resistant to fully melt and blend in at first, but eventually they'll figure it out.


Finally, add in your soy milk and mix completely.


I let this simmer, uncovered, until it thickened up a bit, about 5 more minutes.

Note, this is a very salty mixture right now with the various cheeses that are in here--that's okay! Once we introduce the pasta and veggies in, the sauce will chill out a bit and not be overpowering.

Speaking of--pour this over your bowl of pasta and veggies.


Mix well so that everything is evenly coated in the sauce.


Mmm.

Hubby's reaction to his first bite of this: "My taste buds just exploded!" And he looked over at me with a little grin and added, "And you can quote me on that."

The man knows me so well.

This tastes great as leftovers, too, FYI--just add a tiny bit of water while heating it up the next day to help the sauce liven back up. When pasta sits in sauce overnight, it likes to soak everything up.

Enjoy!

Kitchen credits:

-I referenced Ree Drummond's Alfredo sauce and this "skinny" Alfredo recipe to create my own.

Friday, January 23, 2015

Avocado Mustard Sandwich

I am going to tell you something and you're probably not going to believe me.

You don't have to like mustard to like this sandwich.

Seriously! This is my mom's brainchild, and the first time she told me it was amazing I was like, "If you say so..."

Then I ate it.

And I saw that it was good.


Hubby, too! The first time I told him it was amazing and offered to make one, he did one of those faces that means, "I love her...and I want to make her happy...but that sounds disgusting. But I love her...and I want to make her happy...so I will eat it. Is it rude to plug my nose first? Will she notice? Of course she'll notice. Smile and nod." So he smiled and nodded and said he'd love it if I made him one.

Hubby does that kind of face sometimes with new foods of mine. He always trusts me, though, and he loves to say he's never disliked a single thing I've made him! This was no exception. He craves them now, sometimes.

This was also during his phase when he wasn't sure if he liked avocados, having just realized that guacamole wasn't the devil, either, like he'd always thought.

Long story short...This sandwich is amazing, and don't worry about the mustard. Unless you're allergic, and then you have an excuse to both worry about the mustard and to not eat it.

Let's get down to it:

Prep time: <5 minutes

Cook time: Zero!

Serves: 2 sandwiches

Ingredients:

1 ripe avocado
4 slices of bread (the crispier the better!)*
2 teaspoons yellow mustard

*Or two large slices to cut in half, like me!

That's it! Dontcha love three-ingredient foods?

Directions:

1. Toast yo' bread. Now, normally this would be four slices like the recipe says, but the only bread we had in the house was a huge loaf with long slices, so I'm pretending that this is four slices. I'll cut it in half later to make two separate sandwiches out of it.


2. Drizzle mustard on the inside of each slice of bread.


Spread it evenly.


3. Grab your avocado.


Slice it in half. I love the color of a fresh avocado!


Time to pit. Easiest way to do this is to drive the knife slightly into the pit (less than 1 cm)--


--and twist.


It pops right out!


I can't tell you how much time it saved me when I first heard this trick.

Toss the pit aside.

4. Peel your avocado however you like to.


 Slice into thin strips. You can also just mash it, but I prefer to slice and then spread.


5. Stick a slice of avocado onto the bread.


And use the knife (or a fork) to gently mash it.


Repeat until the toast is fully covered with half of the avocado.


This is normally more uniform and smooshed, but the avocado I used was not quite ready. You know how those youngin's are...never listen!

Top with the second half of the bread and if you're using big slices, like me, then cut in half to make two separate sandwiches.


Out of curiosity, do y'all do diagonal or horizontal slices for sandwiches, usually?

Either way, here comes the easiest part--Enjoy!

Kitchen Credits:

-This one belongs to my mama!